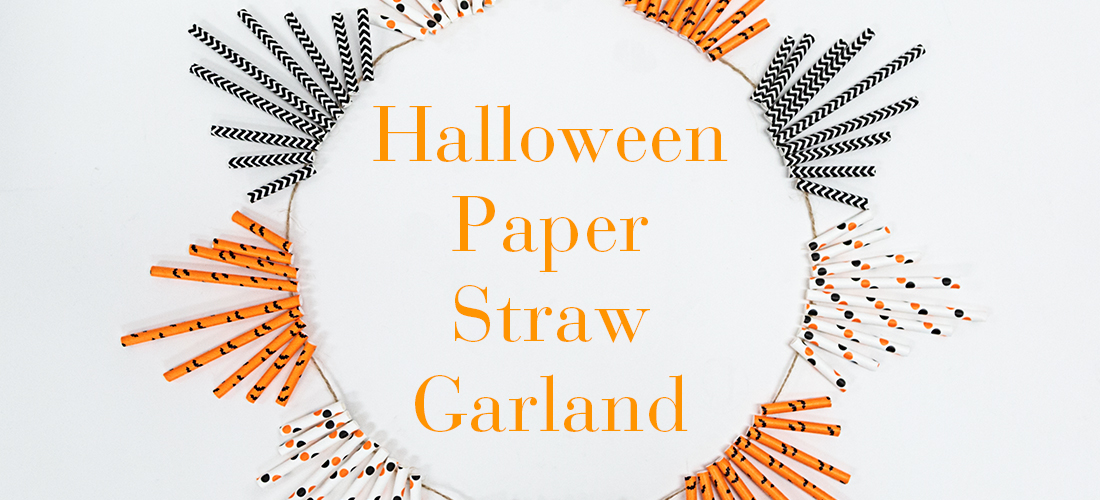
When it comes to holiday decor, we love a good garland. So today, we’re showing you how to boost your Halloween spirit with just a few paper straws and some twine! This “spooktacular” garland is super easy to recreate and looks just as good as any store-bought decor. Get the step-by-step below!
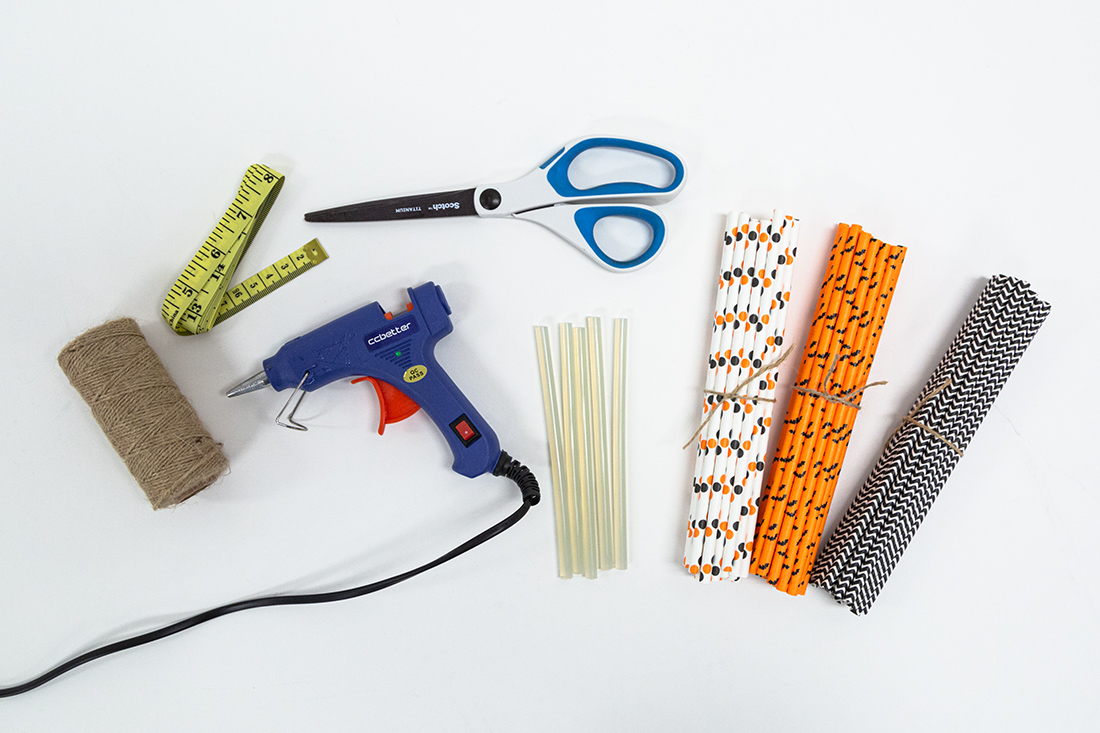
Supplies
Paper straws (3 for each flag)
Twine*
Measuring tape or ruler
Scissors
Glue gun
Glue sticks
*We used approximately 50 inches of twine, which fit 9 flags total. You can makes yours longer if desired!
Directions
1) For each flag, cut 9 straw segments with the following measurements:
– Two 1½ inch pieces
– Two 2 inch pieces
– Two 2½ inch pieces
– Two 3¼ inch pieces
– One 4 inch piece
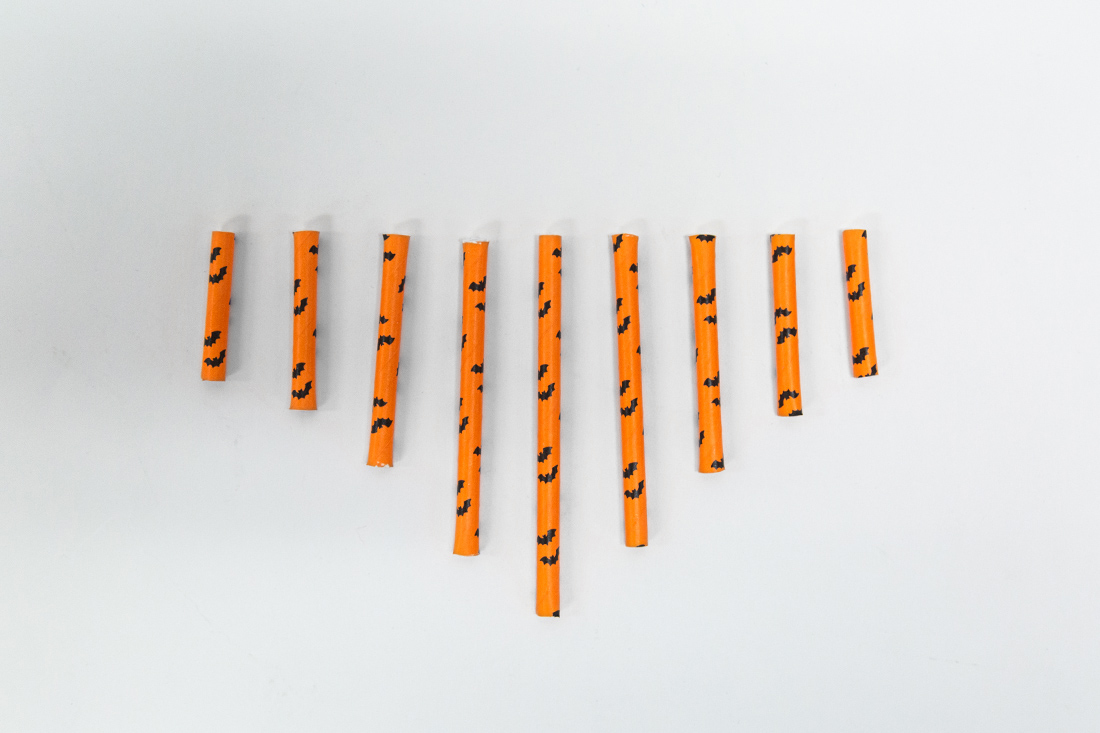
Now that you’ve cut out all 9 pieces, the goal is to create this shape:
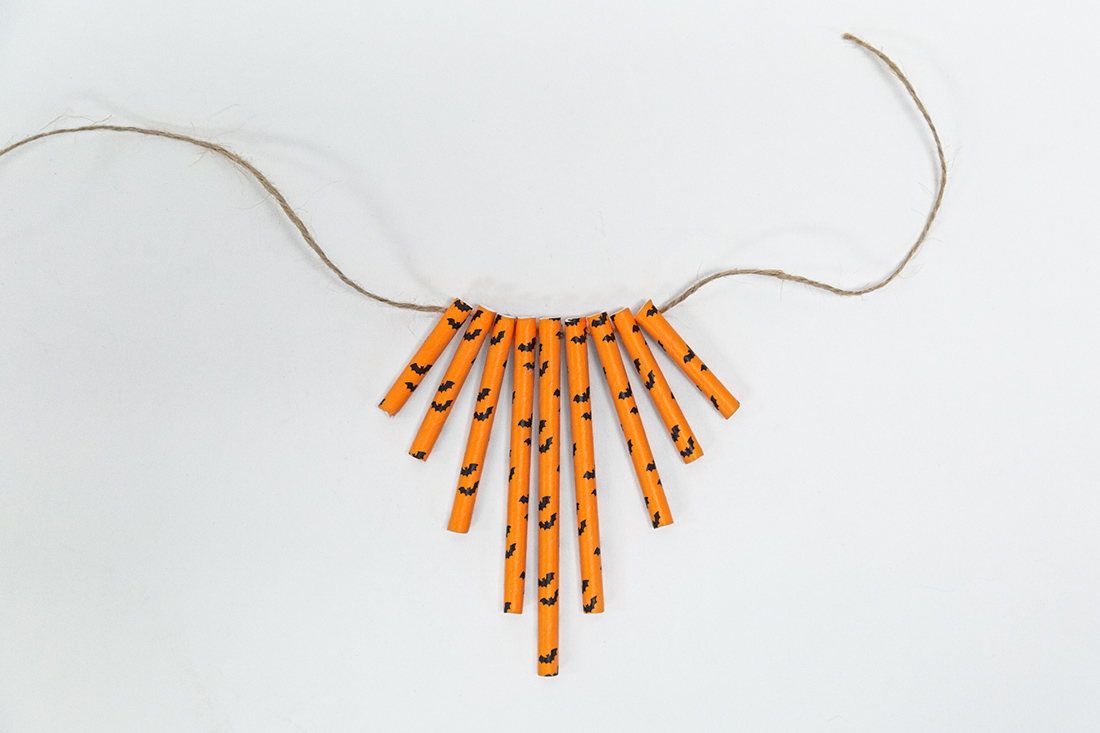
2) Start by gluing the 4-inch piece to the twine. This will become the middle of the flag.
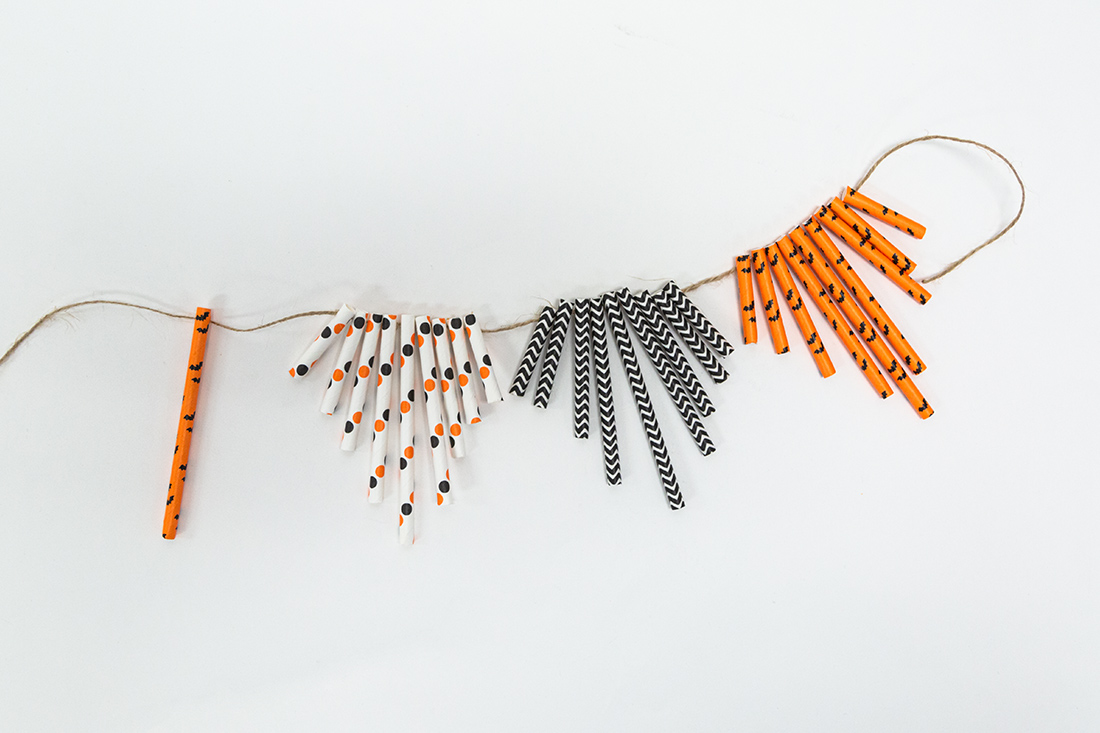
3) Glue the remaining pieces on each side, starting with the next longest piece and ending with the shortest. Make sure you angle each one to really create that flag shape.

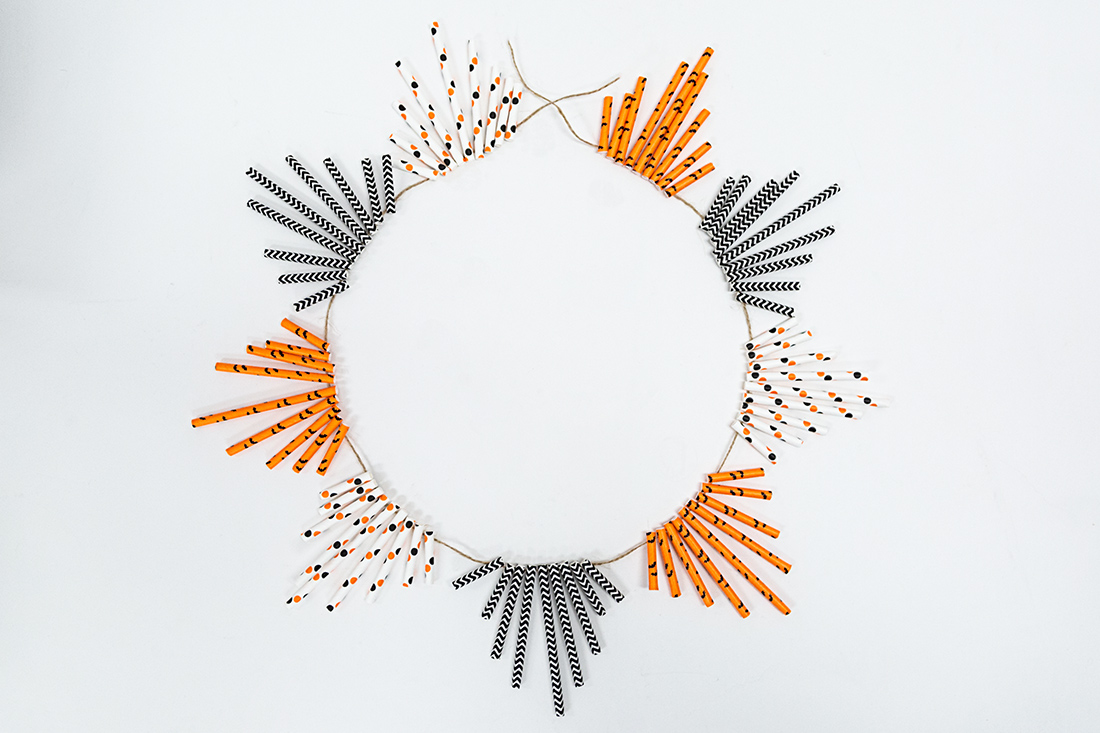
4) Repeat this process with each pattern until you have the desired number of flags. We made 9 total.
*Tip: when repeating the process, glue the middle piece of the new flag approximately 4 inches away from the middle piece of the previous flag to ensure you have enough room.
When finished, your garland should look like this:
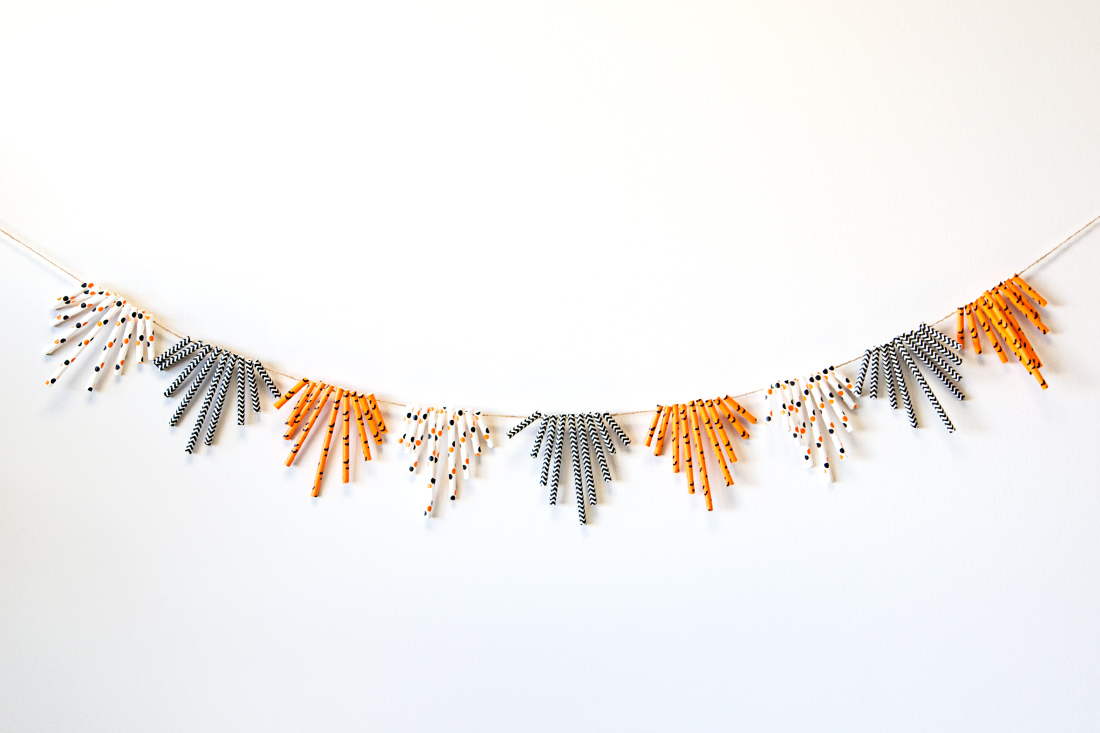
Credit: Tell, Love, and Party


No Comments