
Halloween is almost here, and we’ve got one more trick up our sleeve! Today, we’re showing you how to transform a regular old paint can into a festive trick-or-treat bucket. The best part of this DIY is that you can customize your can however you’d like. Turn it into a cute Halloween creature, or make it an accessory to your child’s costume—the possibilities are literally endless! All you need is some duct tape, an X-acto knife, and a little imagination. For this post, we chose to create a mummy. To see what we’ve concocted, just keep scrolling!
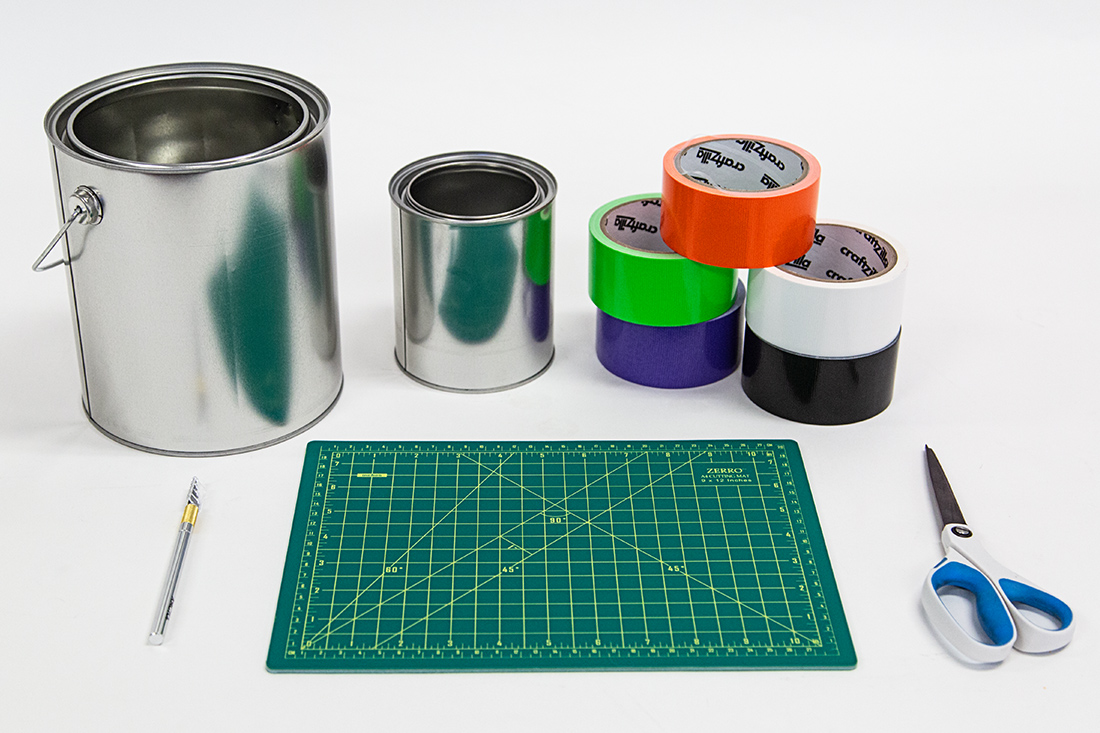
Supplies
Empty paint can
Duct tape
X-acto knife
Self-healing cutting mat
Scissors
Instructions
1) Wrap the entire paint can in black duct tape. If needed, use the X-acto knife to cut out circles where the handle goes. If you are using a paint can you found at home, we also recommend duct taping around the opening to cover any sharp edges.
2) To make the eyes, use the X-acto knife to cut out two large white ovals, two smaller green ovals, and finally two small black circles for the pupils. Place the eyes on the front center of the bucket.
3) For the wrappings, cut out 10 long strips of white duct tape, then cut them in half vertically. (It’s okay if these are a little messy—that will make it look more real!) Wrap the white strips randomly around the bucket, avoiding the eyes.
4) For a finishing touch, cut out small triangles and place them in rows around the top and bottom of the bucket. We alternated between purple, green, and orange.
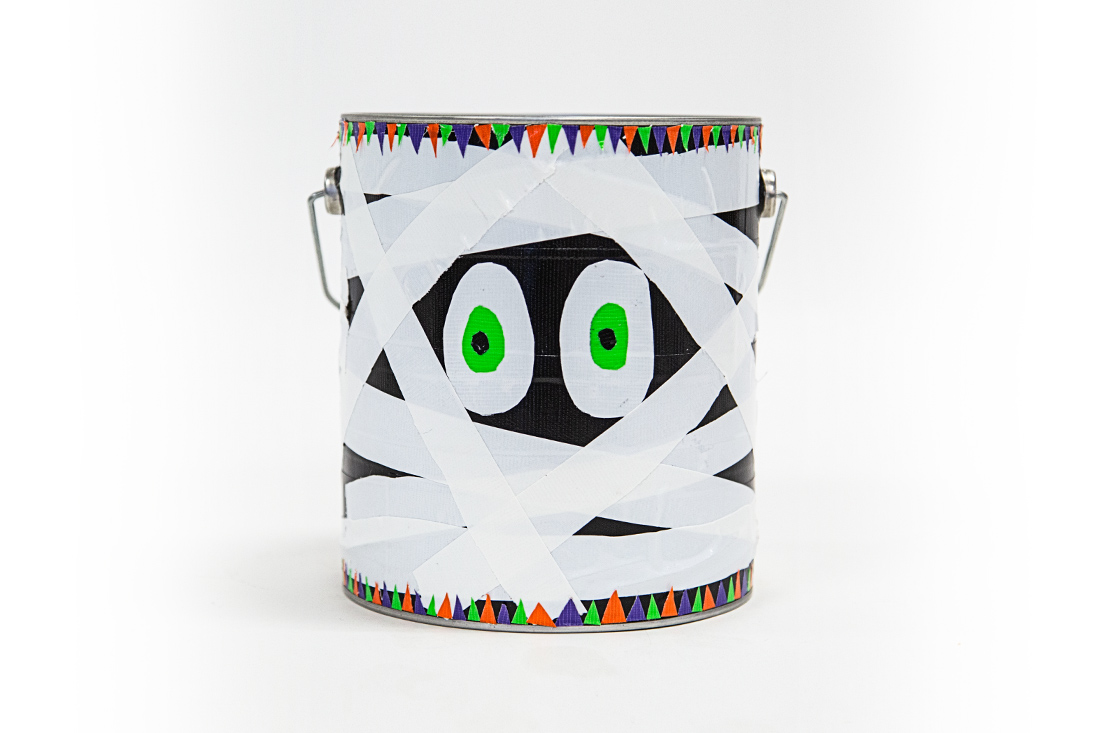
Happy Halloween!
Credit: mer mag


1 Comment
My relatives all the time say that I am killing my time here at web, however I know I am getting know-how all the time by
reading thes fastidious articles.