
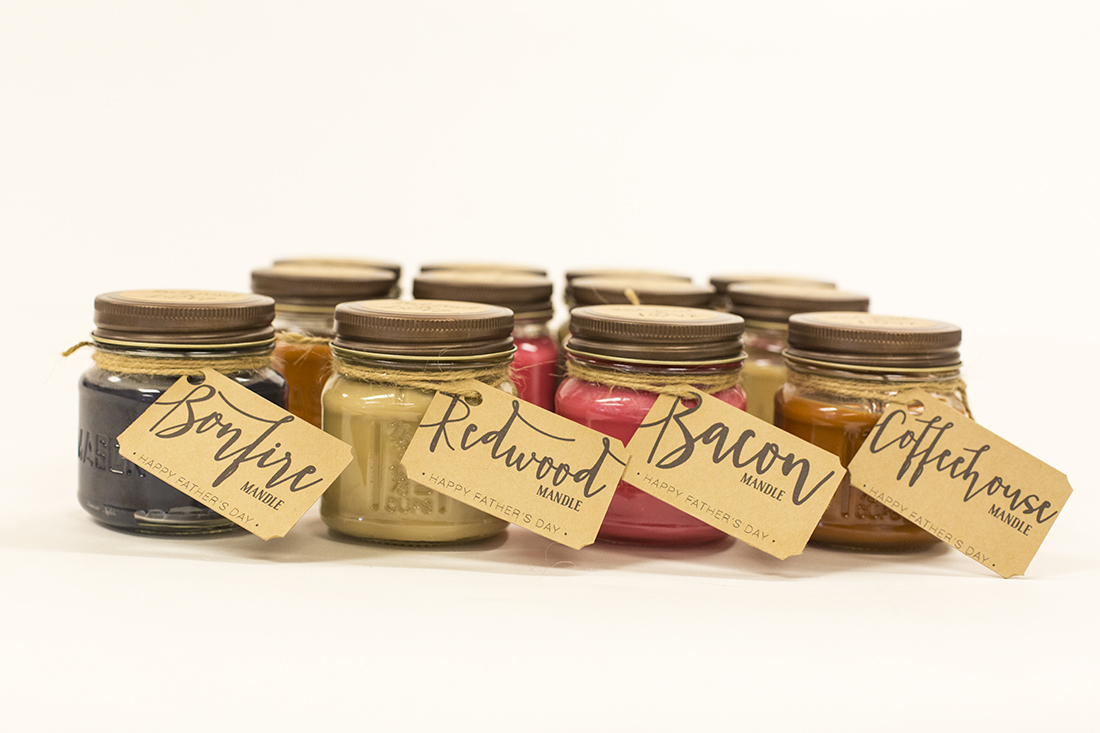
We have never made candles before, and we have to admit, we assumed it would be a pretty difficult task. Turns out, with the right materials, they’re surprisingly simple and tured out even better than expected! We we’re having so much fun, we decided to make extra batches for all the Fathers in the Mother’s Lounge office!
Click HERE to get the free Mandle printables!
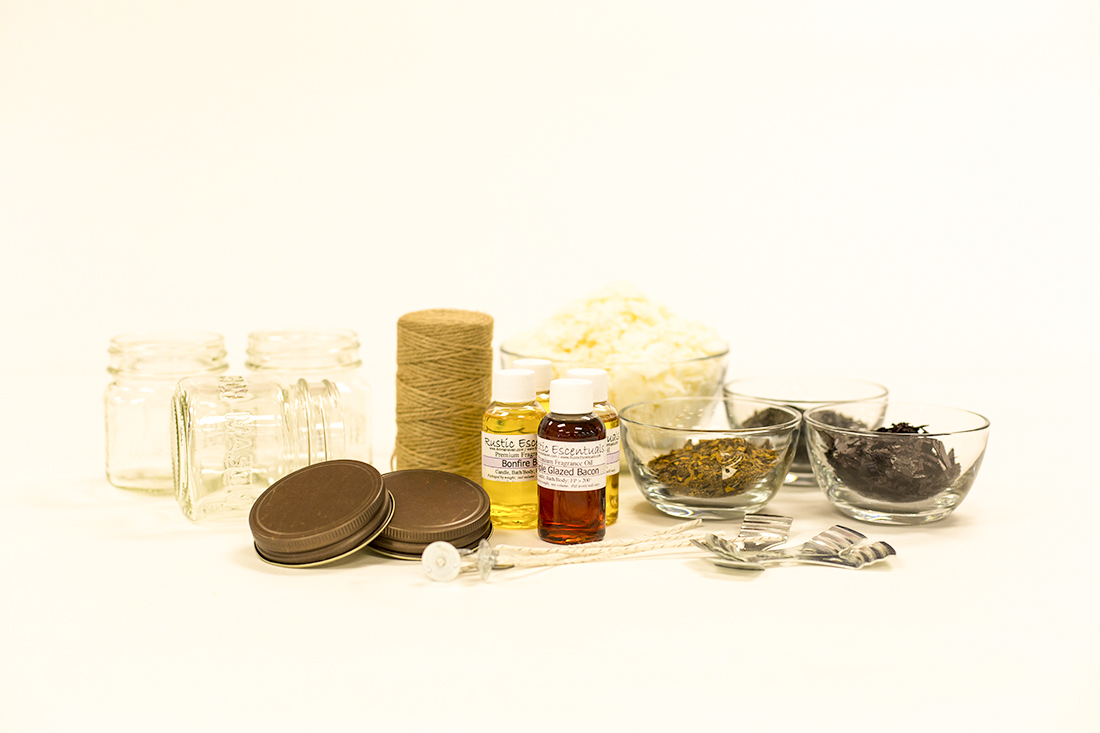
What you need:
Mandles Materials
8 oz. Mason Jars and Mason Jar Lids
5 lbs All-natural Soy Wax
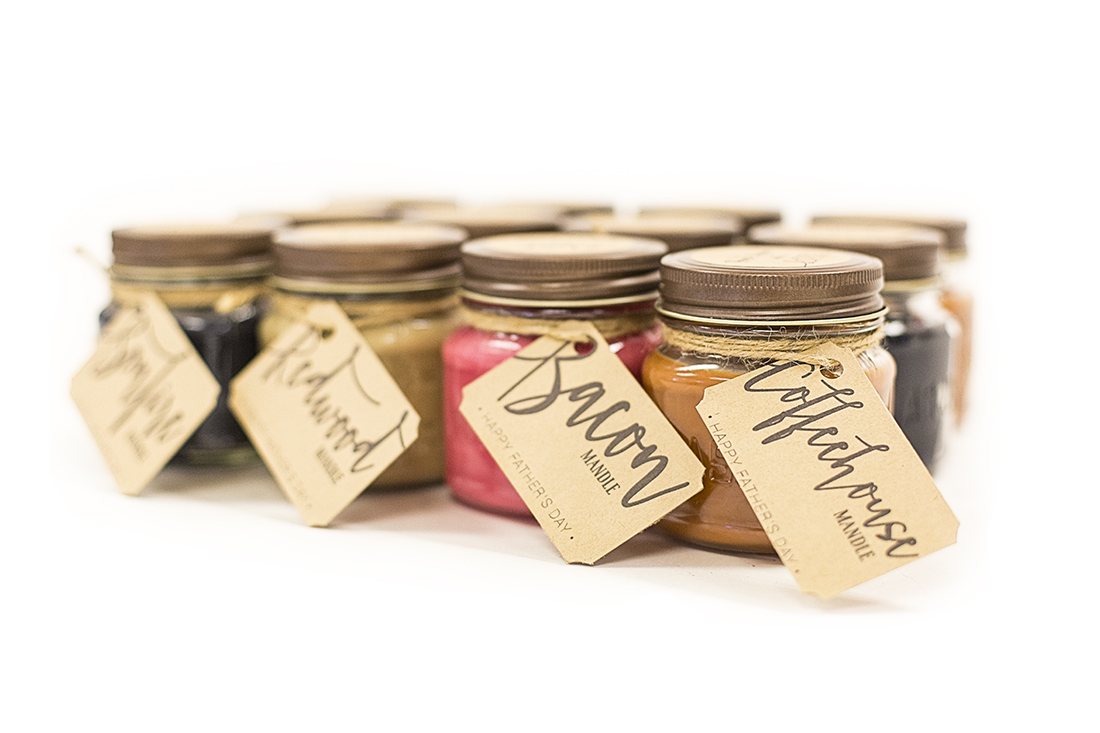
3-4 Fragrance Oils (We chose Bonfire Bliss, Redwood, Maple Bacon, and Coffeehouse)
Candle Dye Flakes
Candle wicks, tabs, and stickers
Candle wick holders
Printable Materials
Kraft Paper Labels for Mason Jars and Lids
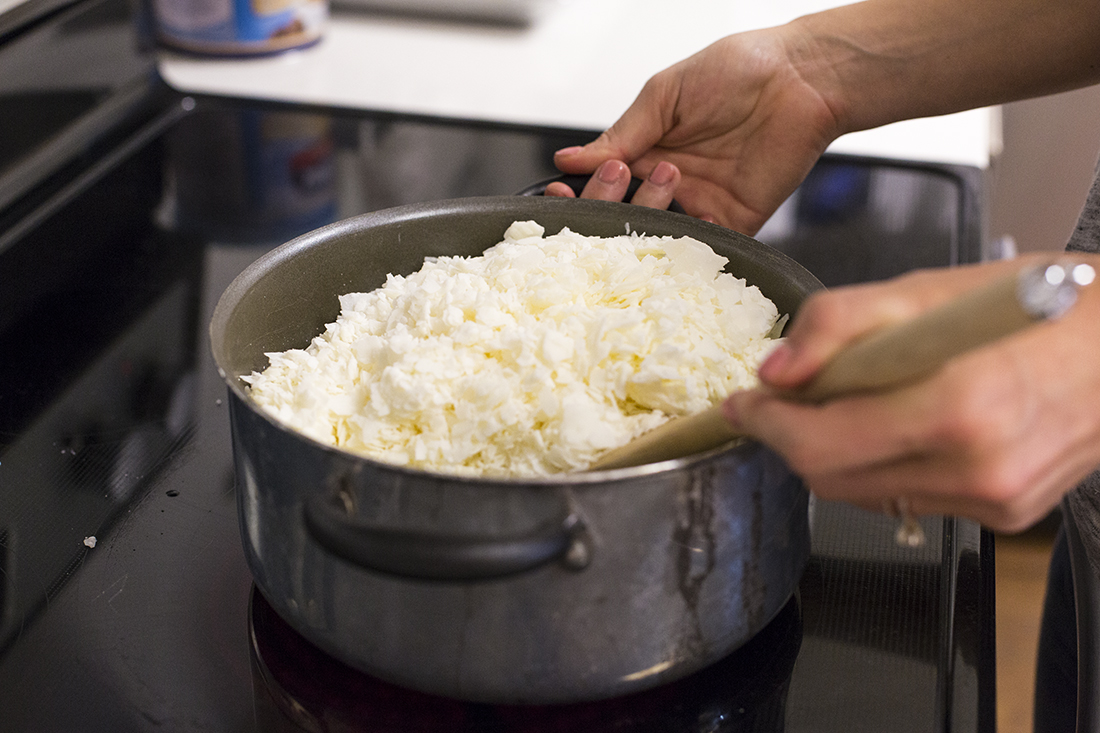
1. MELT THE WAX
Gently melt the soy wax on medium heat making sure it’s never hot enough to boil. Stir until your wax melts down. White wax will look slightly yellow once melted. (Note: 4 cups of wax will make 3 Mason Jar Mandles. Keep re-heating more wax as needed depending on how many candles or scents you are making.)
2. ADD YOUR WICKS
While wax is heating up, add your wicks! Take the sticker and apply it to the metal base of your wick and then firmly stick it to the bottom center of your jar!
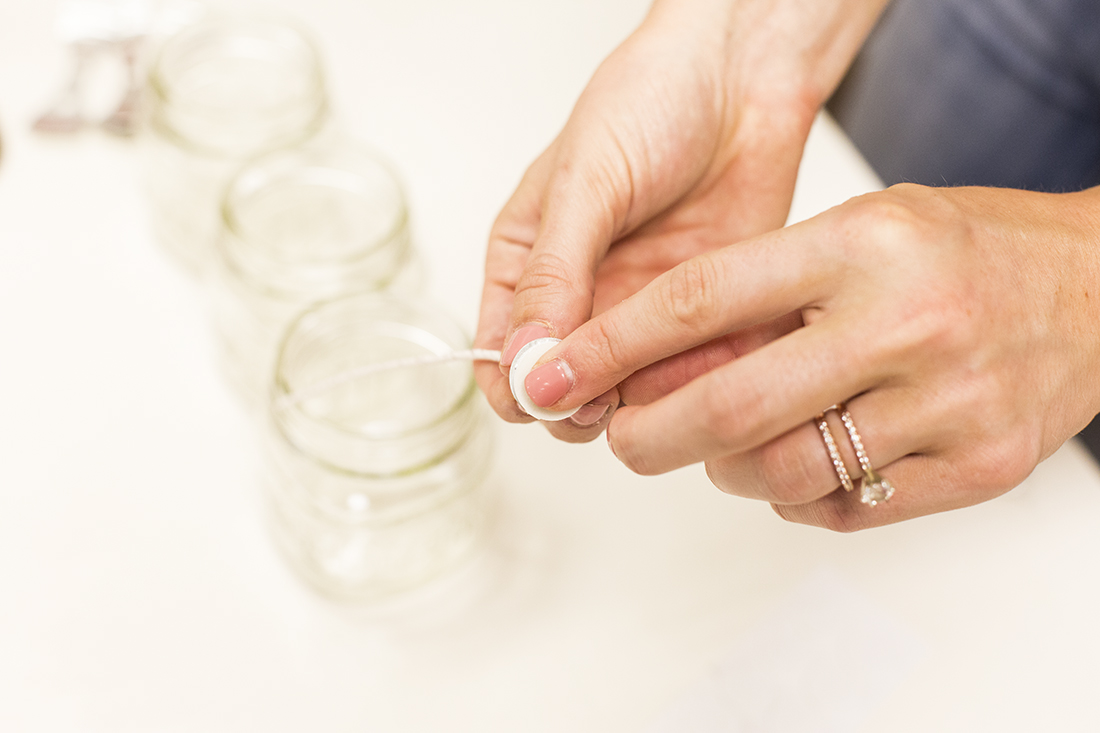
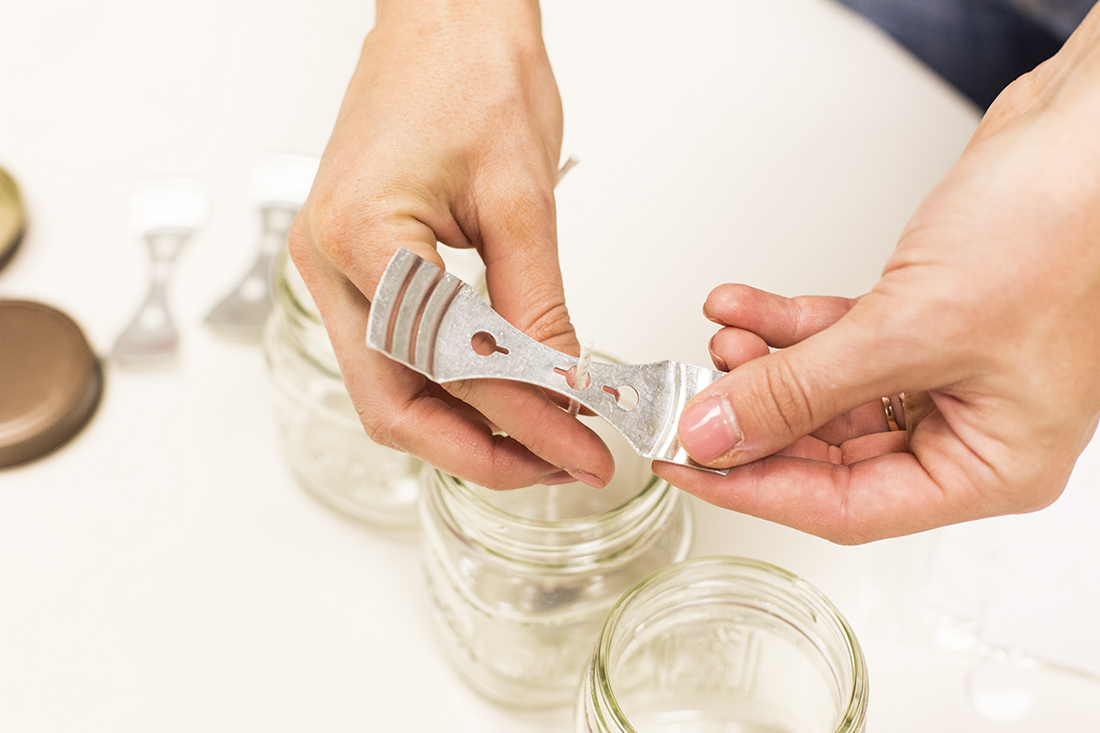
3. ADD YOUR WICK HOLDERS
Next up, thread your wick through the center of the wick holders. Wick holders are a useful tool used to help keep your wick in place while you pour and set the wax.
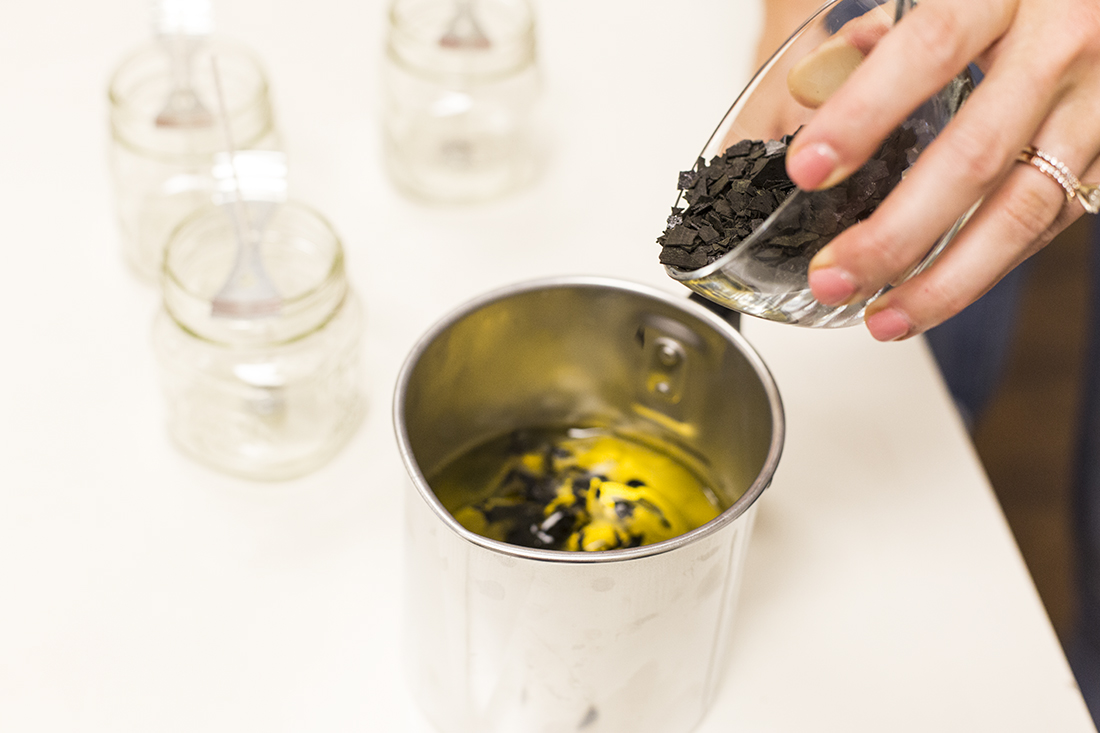
4. ADD YOUR COLOR
Transfer your wax from a melting pot to pouring pot and add 1 to 2 pinches of color. This will give you a pretty pastel color. If you want the color to be more vibrant, add a few more pinches of color.
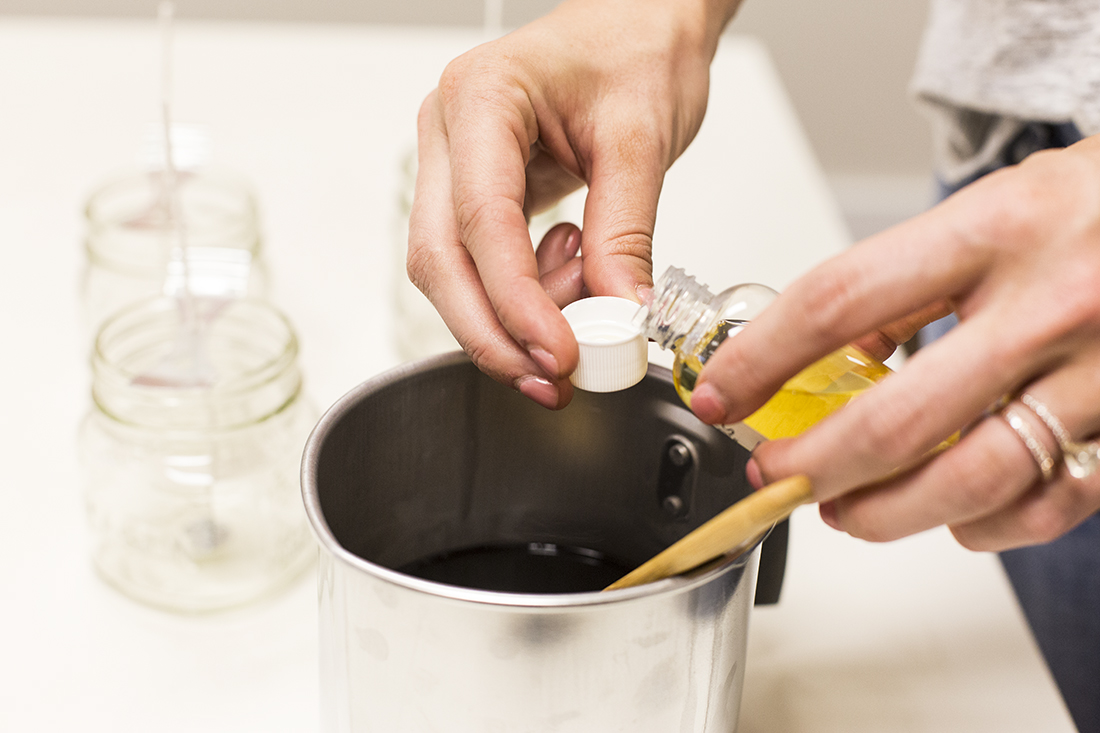
5. ADD YOUR FRAGRANCE
Next, add 1/2 tsp of fragrance for every cup melted.
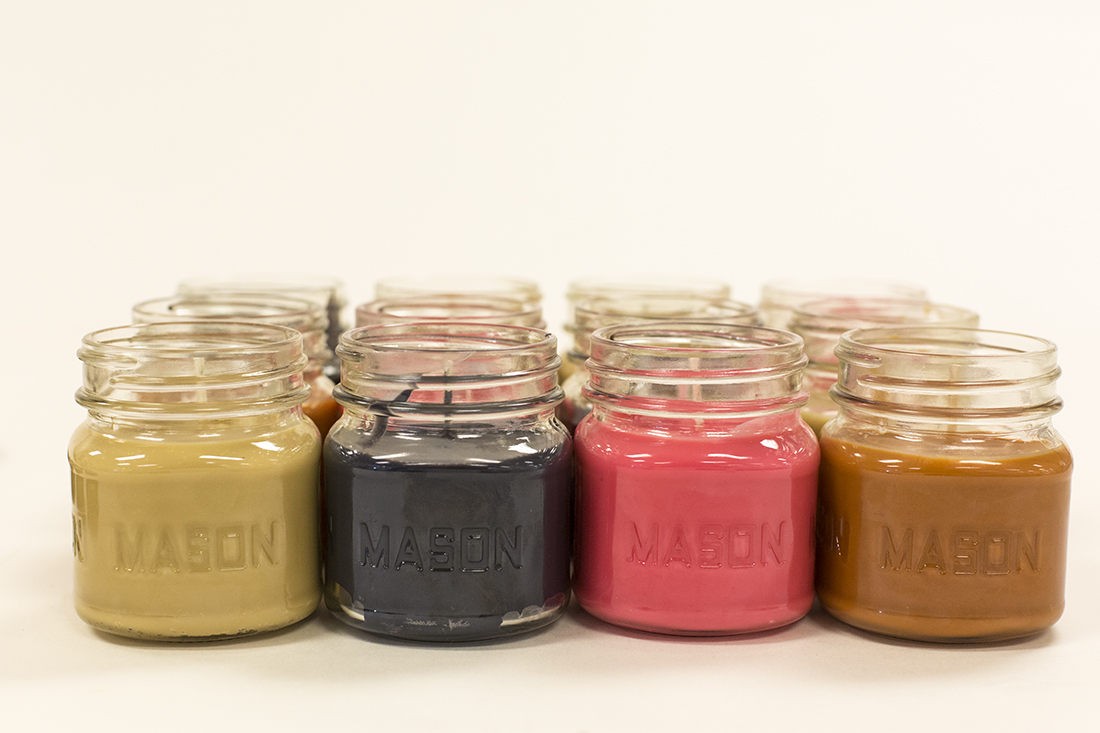
6. POUR AND LET SET
Transfer your finished candle wax into their individual mason jars and let set completely. For faster set time, transfer your candles to the fridge!
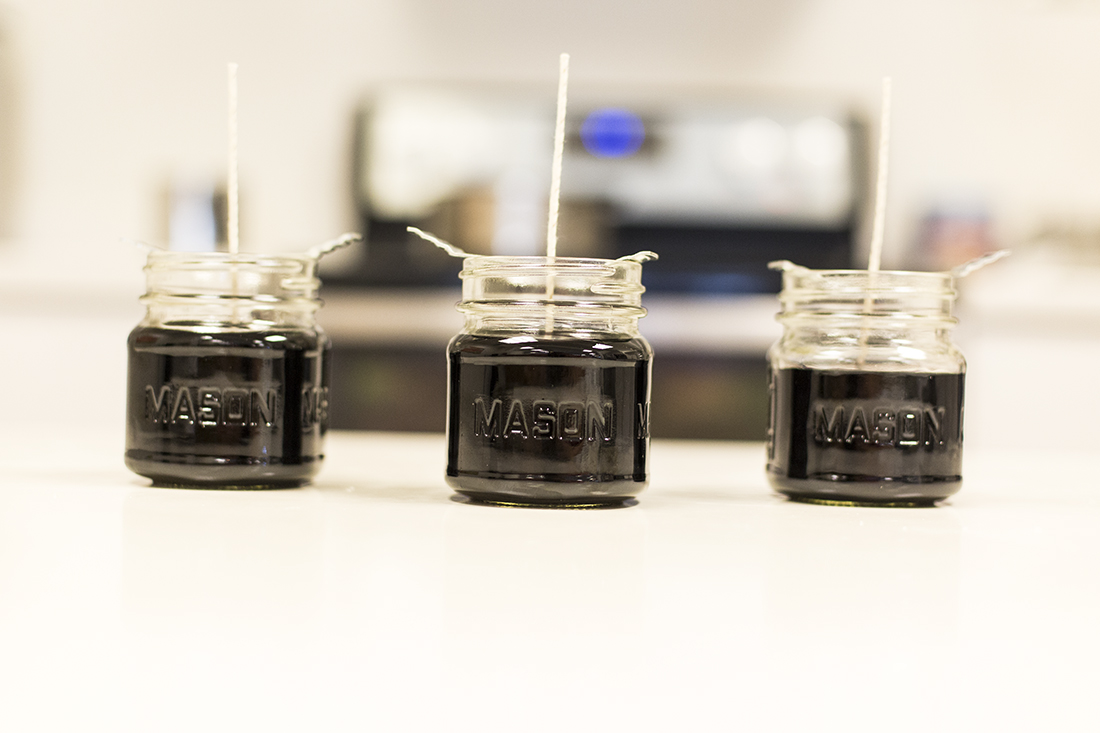
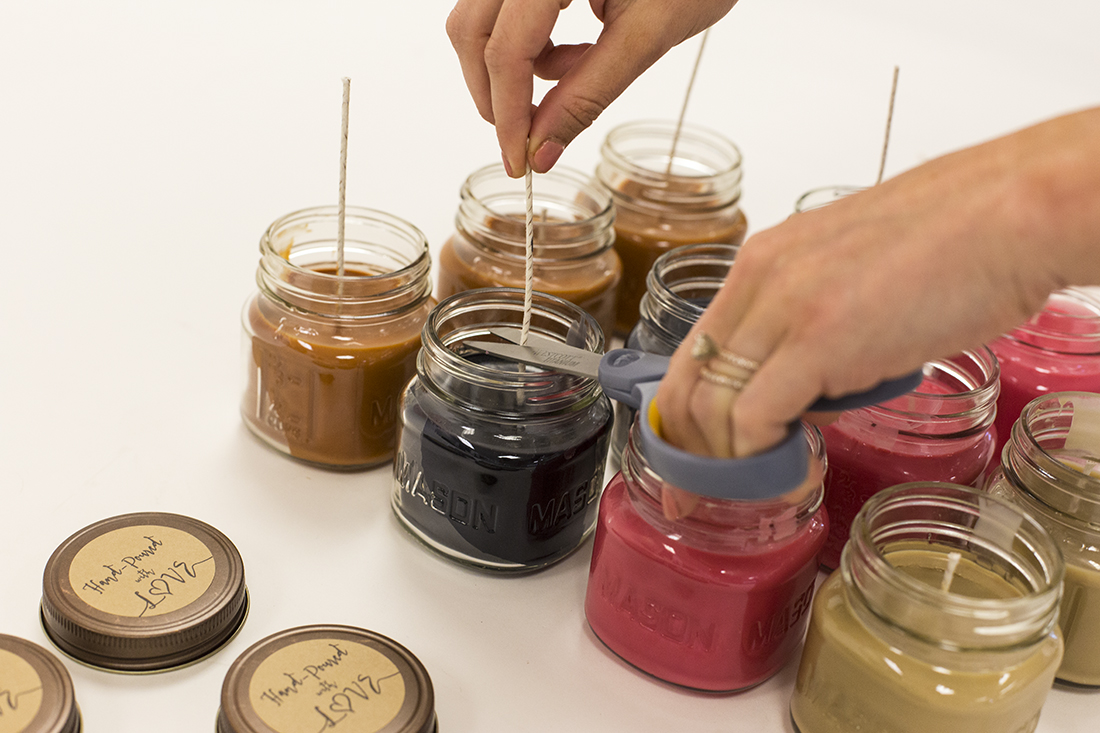
7. CUT YOUR WICKS
After wax has set, cut your wicks. Do not trim the candle wicks too short. Soy candles specifically need a little extra wick to start burning.
8. DOWNLOAD YOUR PRINTABLES
Click HERE to download!
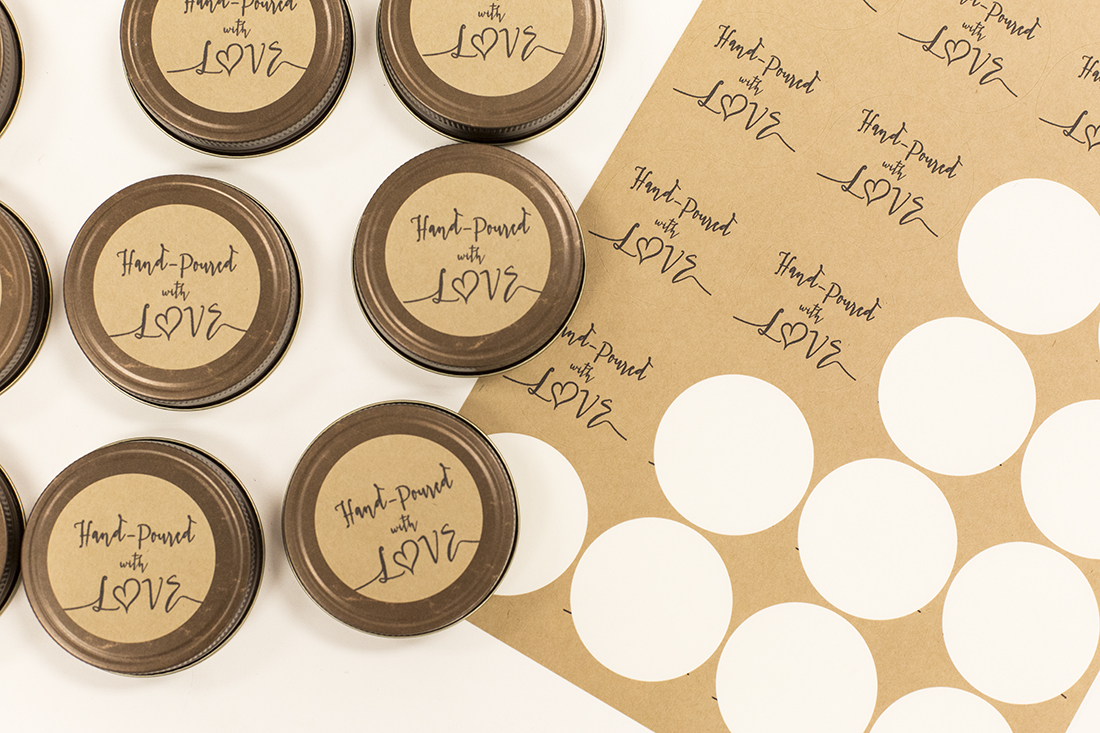
9. START DECORATING
Now to the fun part! Start decorating your mandles with the free printables!
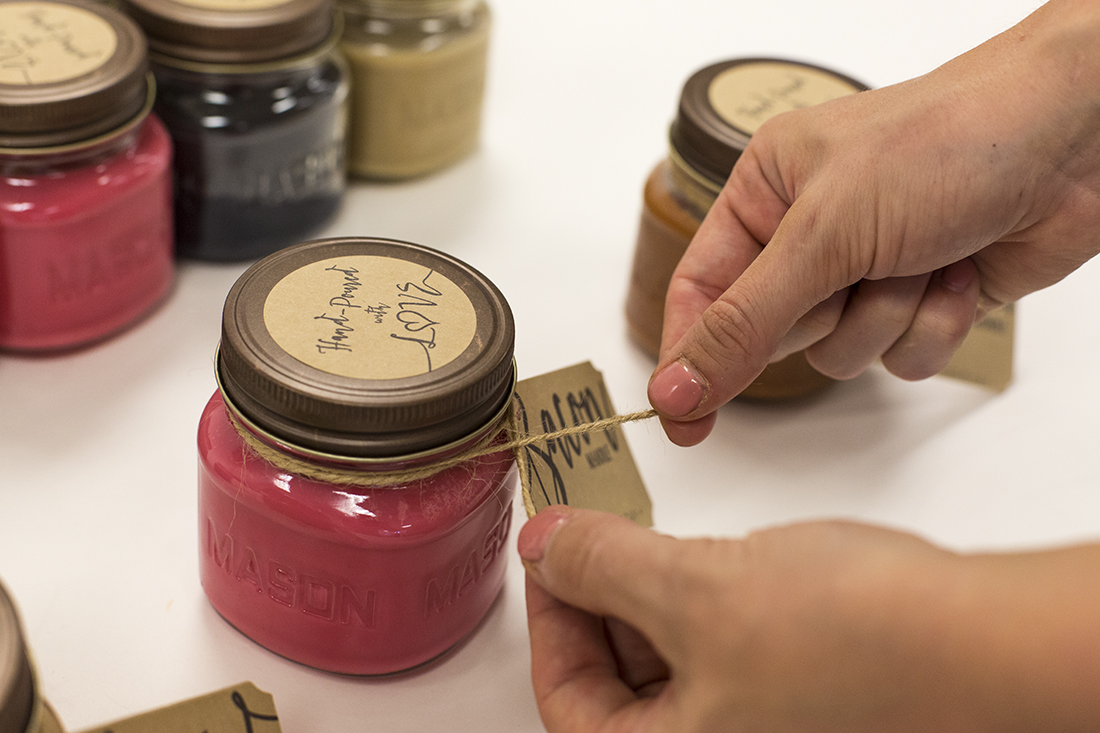
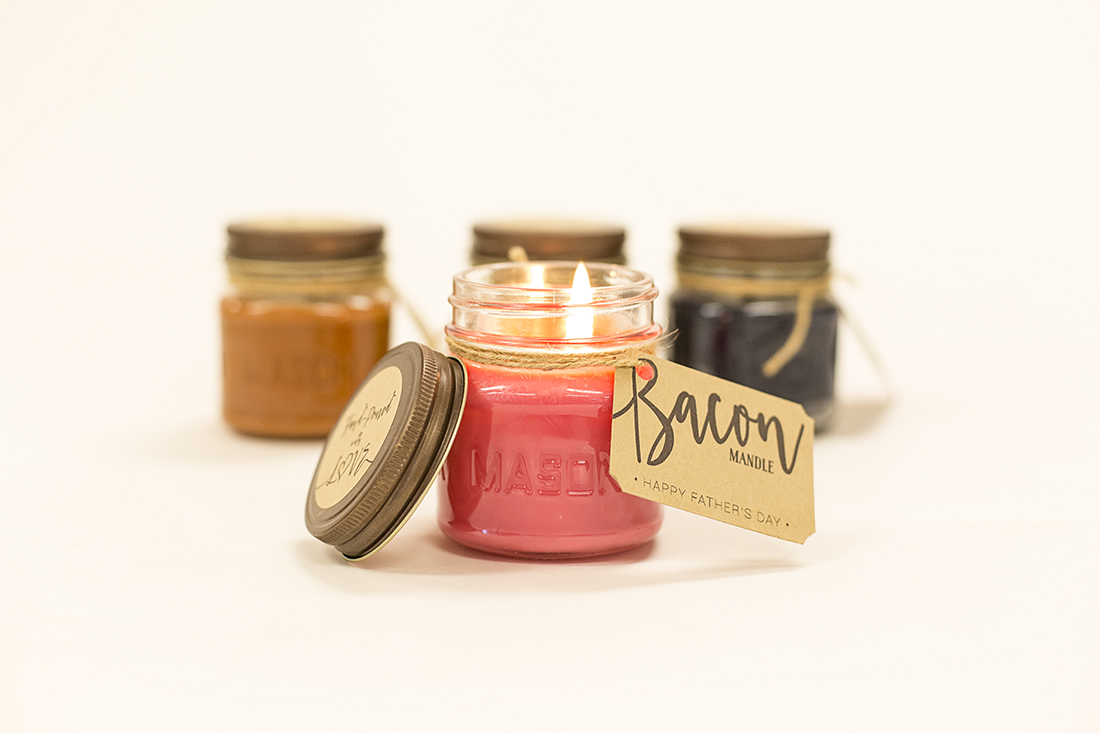
10. Viola!
We know the dads in your life will enjoy this thoughtful gift as much as you will enjoy making it! We can’t wait to hear how yours turn out! Feel free to share your questions or finished mandles in the comments below!


No Comments