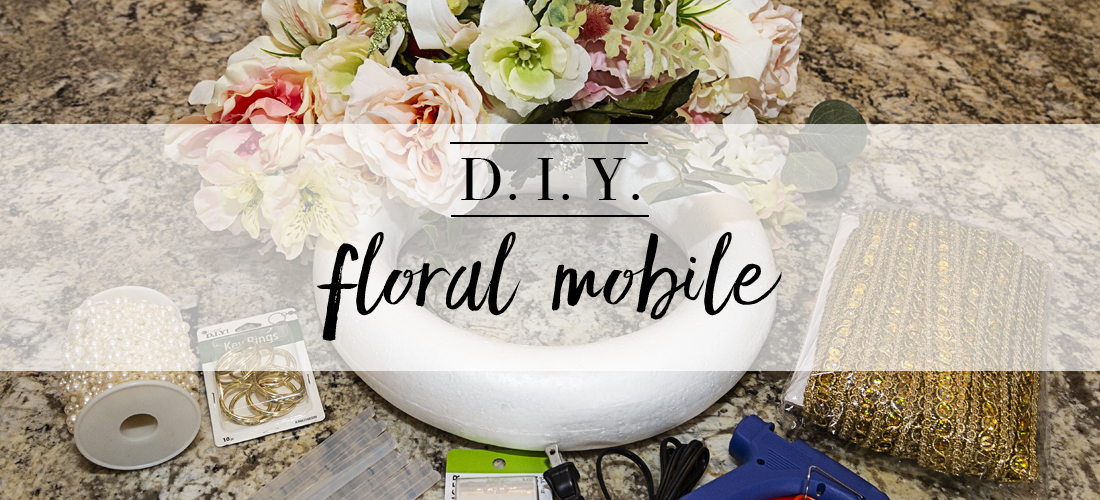
We’re already dreaming of spring over here at Mothers Lounge and cannot wait for warmer weather! These cold months can be pretty dreary, so we want to help you brighten your home with this adorable DIY. This floral baby mobile radiates springtime and will make the sweetest addition to any nursery.* To get the tutorial, keep scrolling!
*Please note: We do NOT recommend putting the mobile over a crib as the hanging pieces could be pulled off by your little one. Instead, try hanging the mobile above a rocking chair, window, or in the corner!
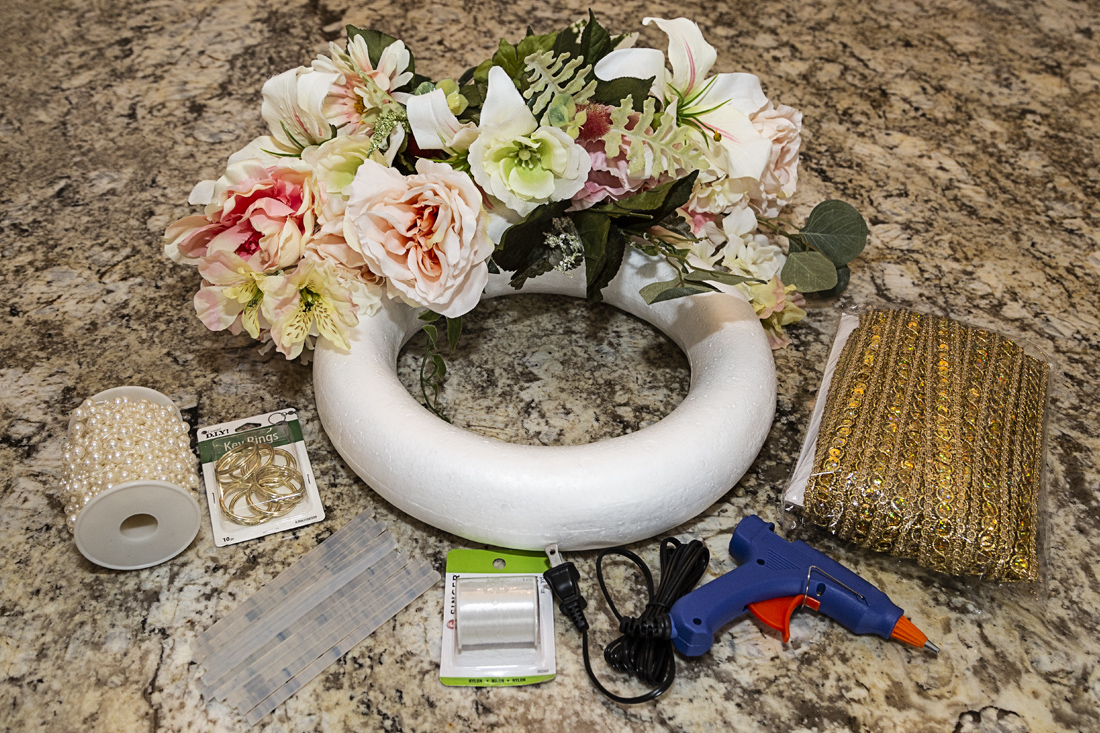
Supplies
20 – 25 fake flowers
13 inch foam wreath
Hanging ribbon
Pearl ribbon
Nylon thread
Key ring
Hot glue gun and glue sticks
Scissors
Measuring tape or yard stick
Directions
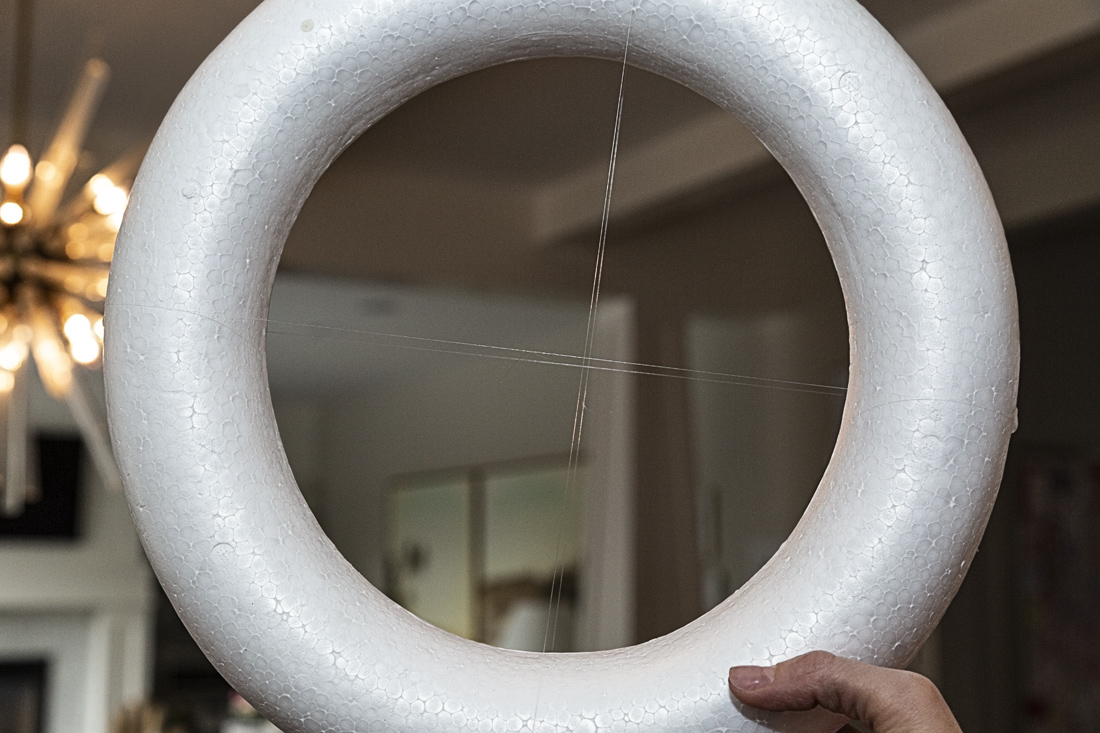
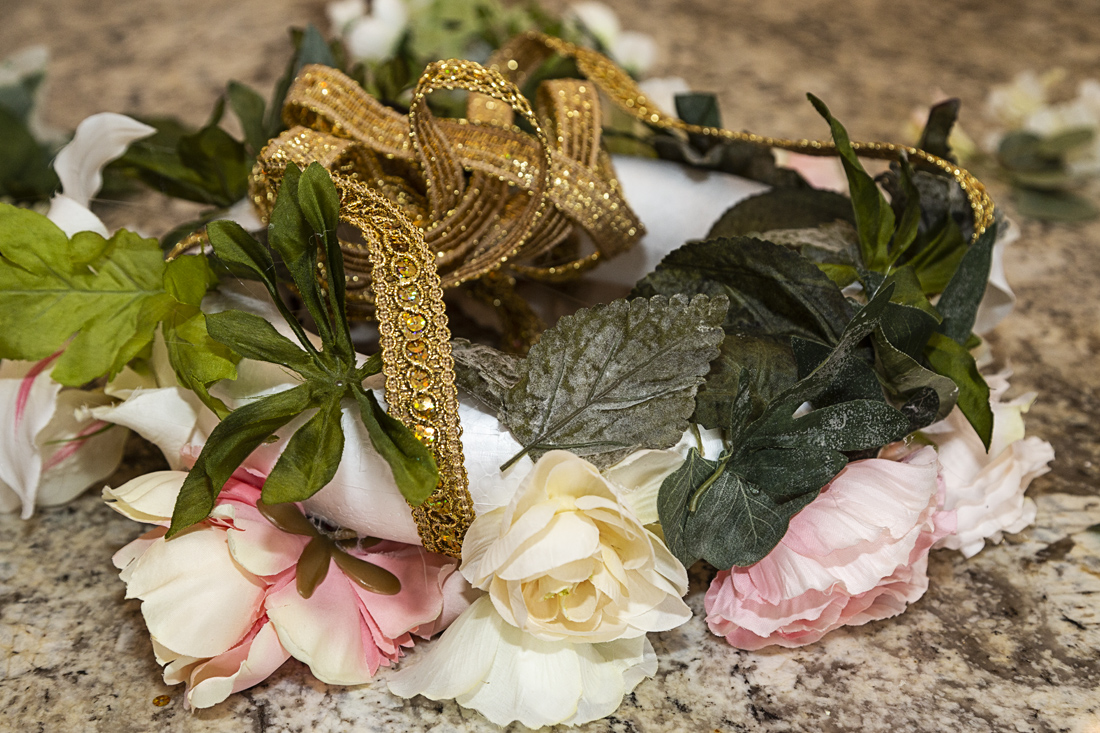
1) Tie the nylon thread horizontally and vertically across the foam wreath, creating a criss-cross. Secure the thread with glue where it meets the outside edge of the wreath.
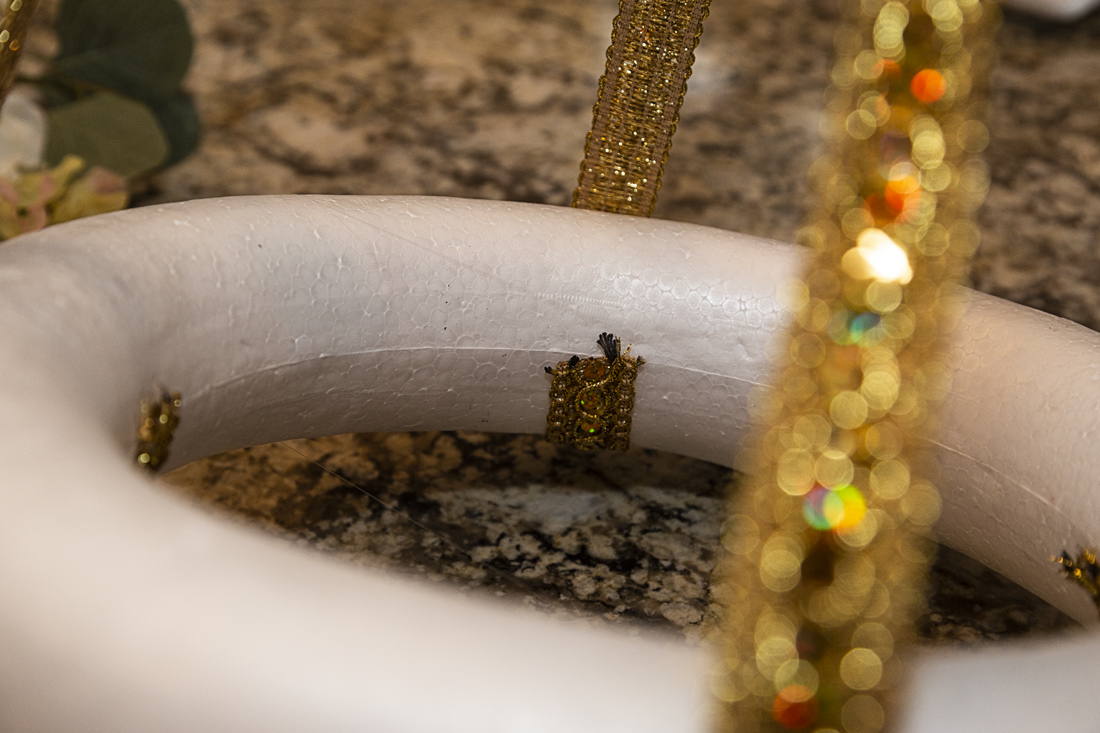
2) Cut the hanging ribbon into four equal strips, each measuring 1 yard in length.
3) Glue the four strips of hanging ribbon an equal distance apart along the bottom of the foam wreath. Make sure the ends of the ribbon reach the inside middle of the wreath. This will give the mobile proper support for hanging.
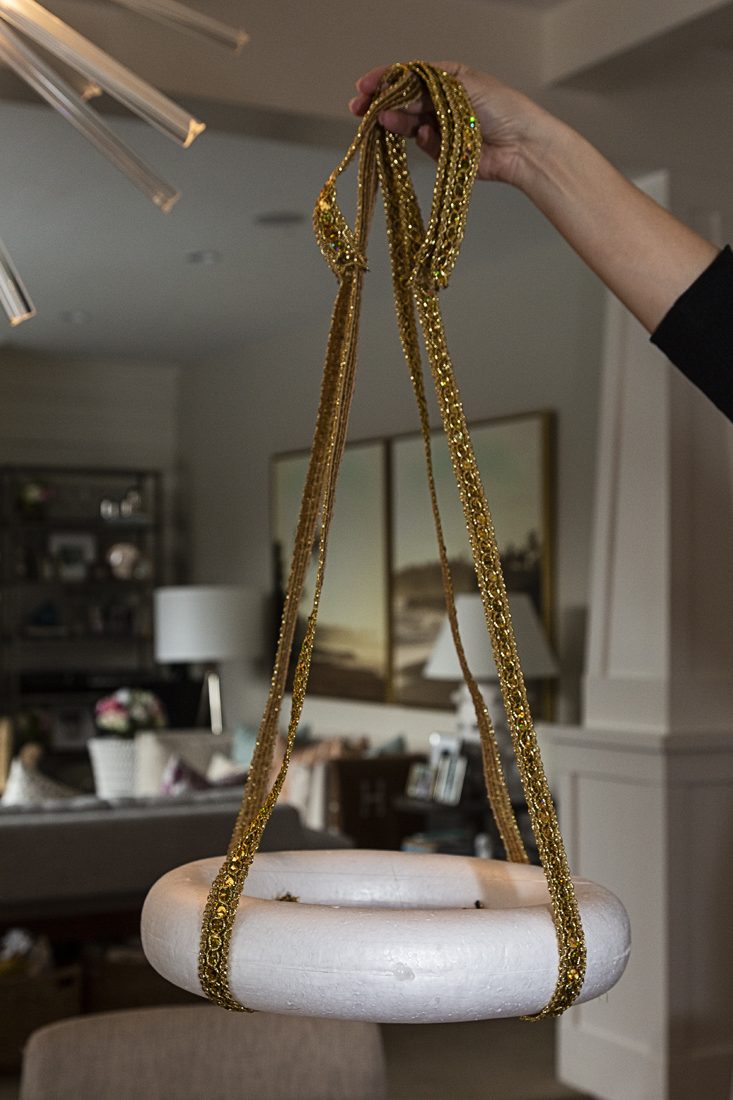
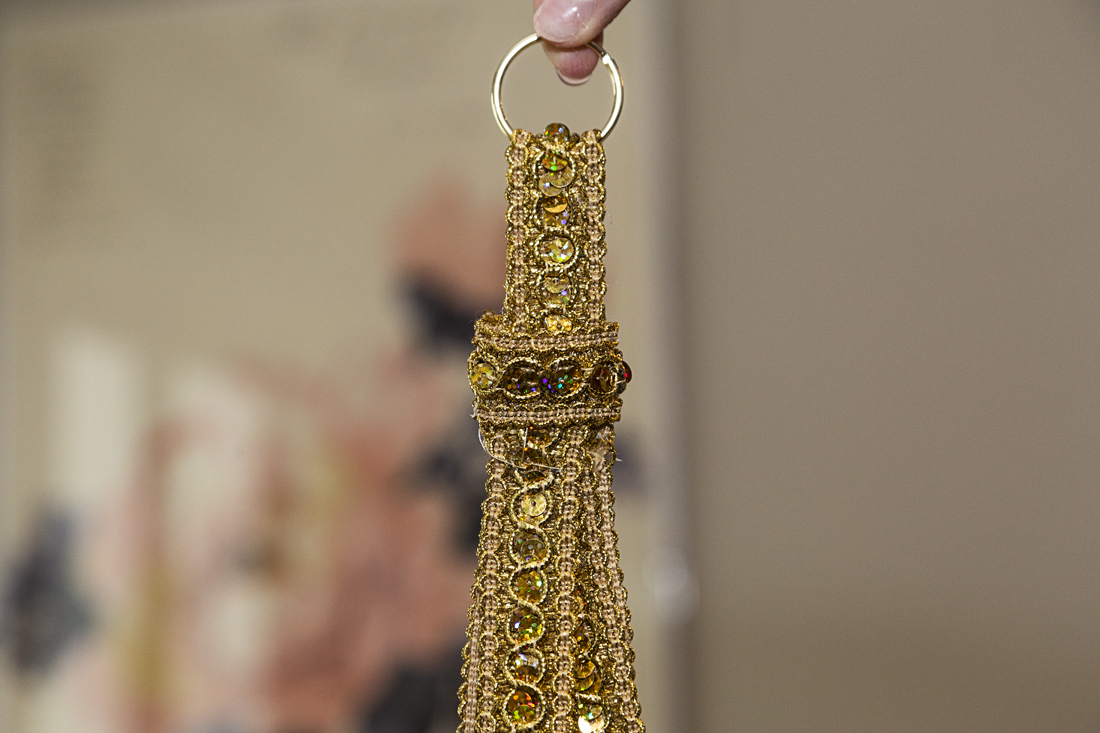
4) Cut off a 6-inch strip of the hanging ribbon and loop it through the key ring.
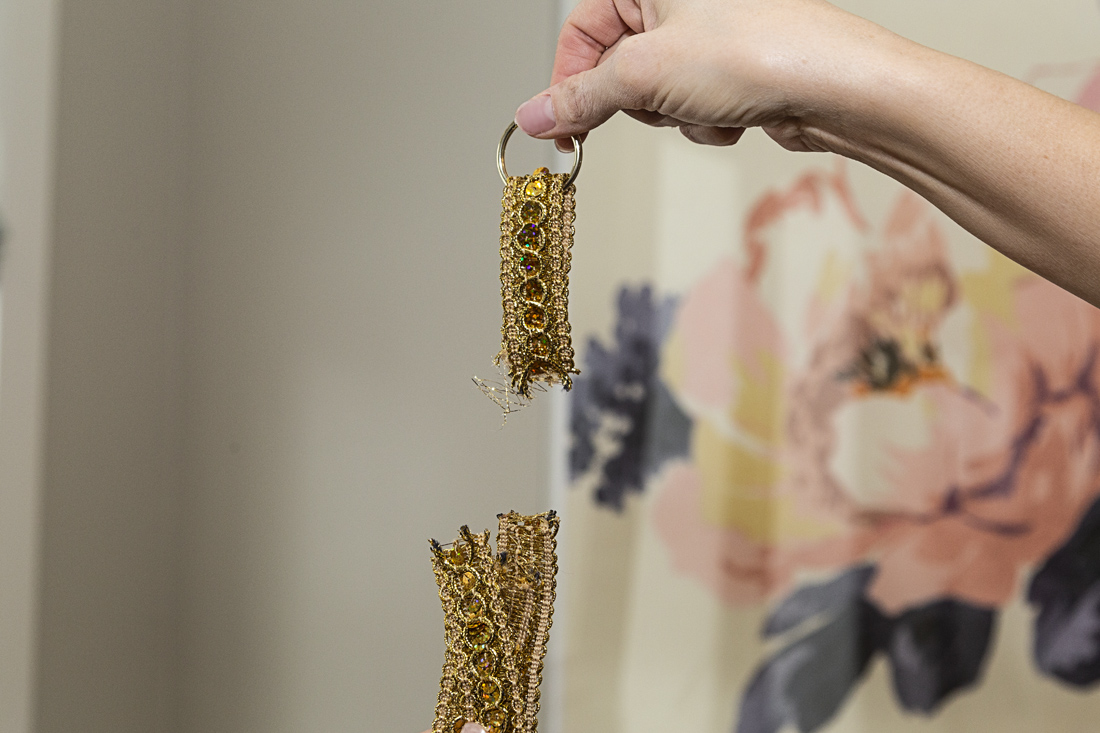
5) Sew the ends of the looped ribbon and the ends of the yard-length strips together. You can use a sewing machine, but we found that hand sewing was easier due to the thickness of the ribbon. Don’t worry if it looks messy, we will be covering it up in the next step!
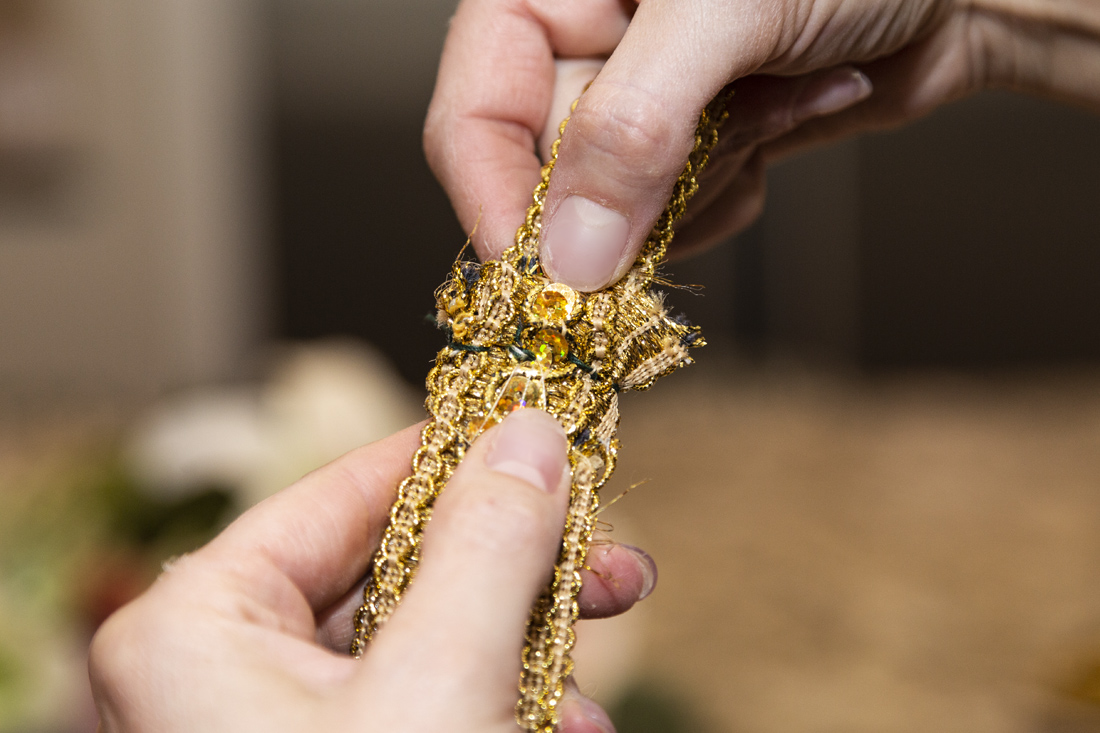
6) Cut another 4 – 6 inch strip of hanging ribbon and wrap it around the section we just sewed. Glue it in place.
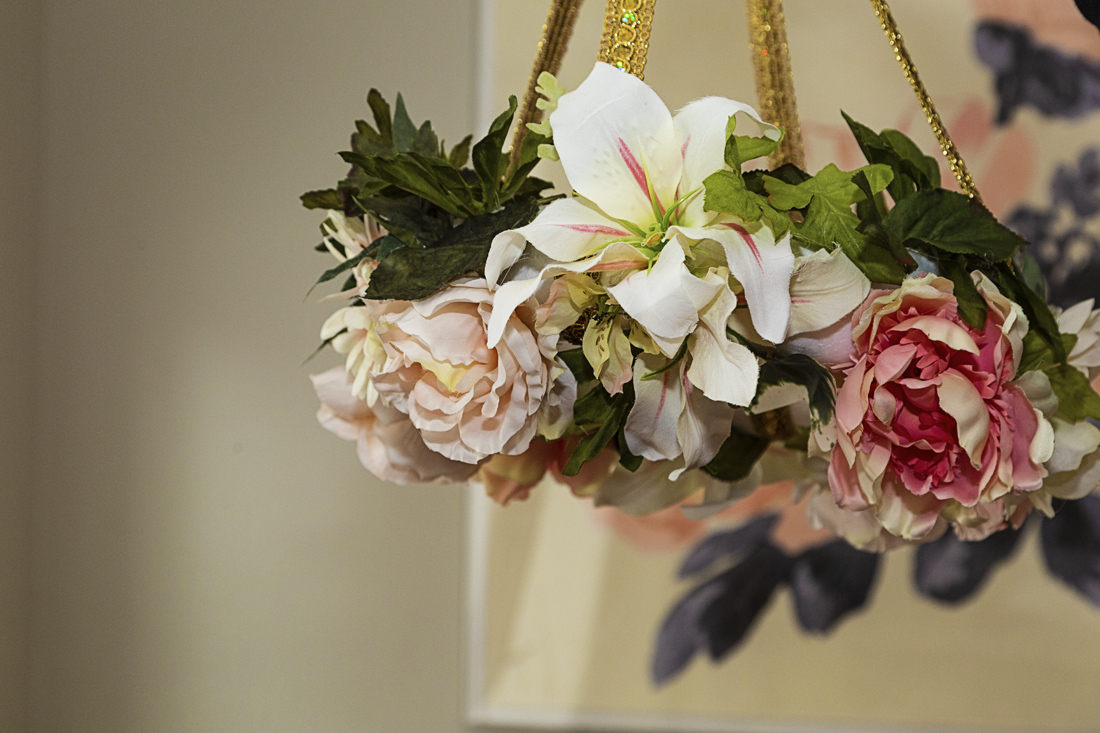
7) Now for the fun part! Separate the fake flowers from their stems and decorate your wreath. (Make sure you reserve a few small flowers for the chandelier pieces!) We found the easiest method for attaching the flowers is to push the end of the flower into the foam and then glue it into place. We recommend planning your flower placement before gluing to ensure they are spaced exactly how you’d like them. Once all of your flowers are in place, fill in the sparse areas with greenery.
The end result will look something like this:
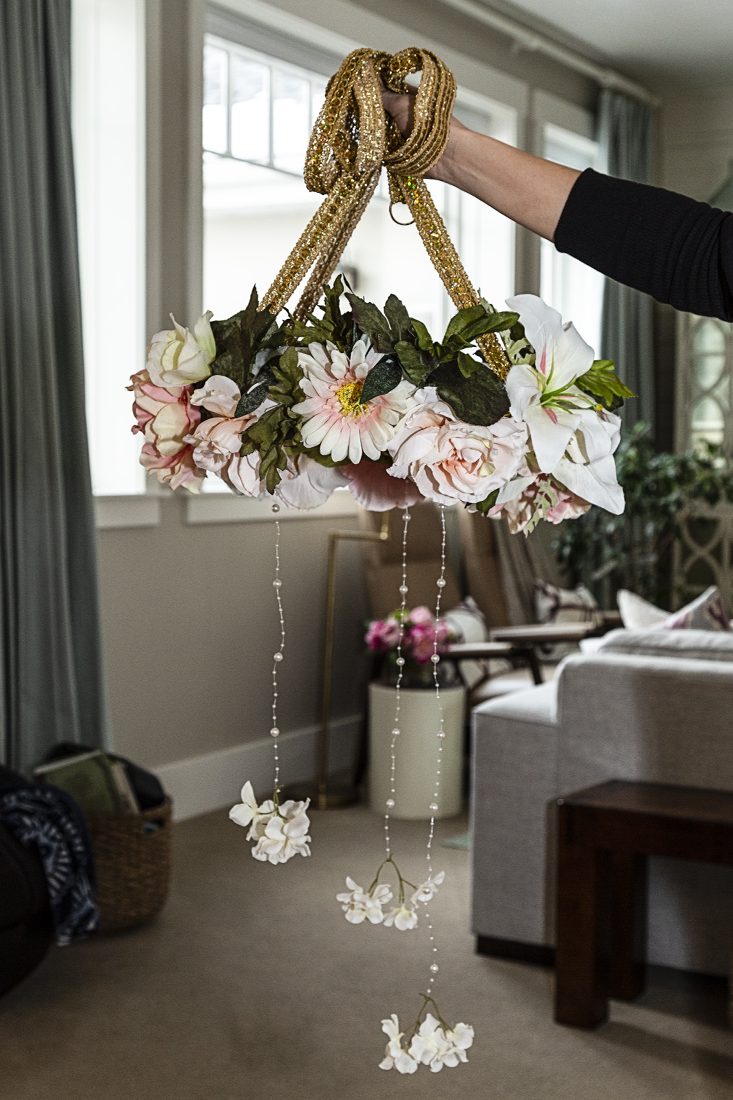
8) Once you are finished decorating the wreath, use the small flowers you reserved earlier to create the chandelier pieces. First, cut three strands of the pearl ribbon in varying lengths, then secure the flowers to the ends of the ribbon. We secured the flowers by pushing a small pearl bead at the end of the ribbon through the hole at the base of the flower. Once the flowers are secure, tie the other end of the ribbon to the nylon thread we criss-crossed earlier. And you’re done!
Credit: Everyday Mom Ideas


No Comments