
Spring is a great time to catch fairies and honestly, who doesn’t need a little fairy dust in their life? So today, we have an enchanting DIY for you. These fairy catcher jars create the most charming illusion. They’ll take you back to your childhood dreams, where all kinds of magical creatures exist. Once you’re finished, you’ll be wondering if you really did capture a fairy in a jar. The frosted glass and floral embellishments give a whimsical effect that sparks the imagination. You can mesmerize your little ones or bring some magic to any occasion. These are a great way to upcycle your empty jars and they make a great gift!
Supplies
Laser cut fairy silhouettes
Clear glass jar with metal lid (we used 16 oz)
White tissue paper
Modge Podge
Foam brush
Vine wrapped craft wire
Clear gel tacky glue
Preserved moss mix
Craft wire cutter
Roll of thin twine
Pinecones – small
Fake butterflies – small
Faux flowers – small
Fine glitter – gold
Spray adhesive
Flameless LED tea lights
*click the links above to shop!*

Step 1
Remove the lid from your jar and using your foam brush, lightly Modge Podge the whole outside of your jar, except the jar lid area.

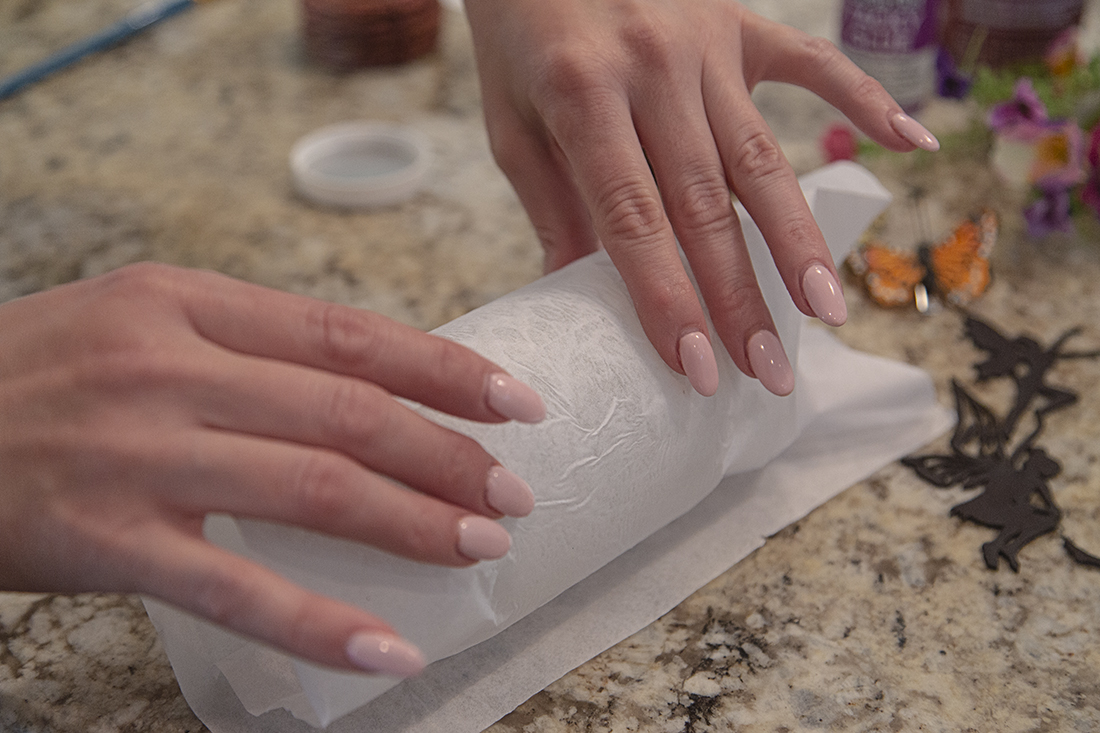
Step 2
Wrap your jar with a single sheet of white tissue paper by laying it on the sheet on a table and rolling it over until it overlaps. Try to avoid too much creasing. Allow Modge Podge to dry.
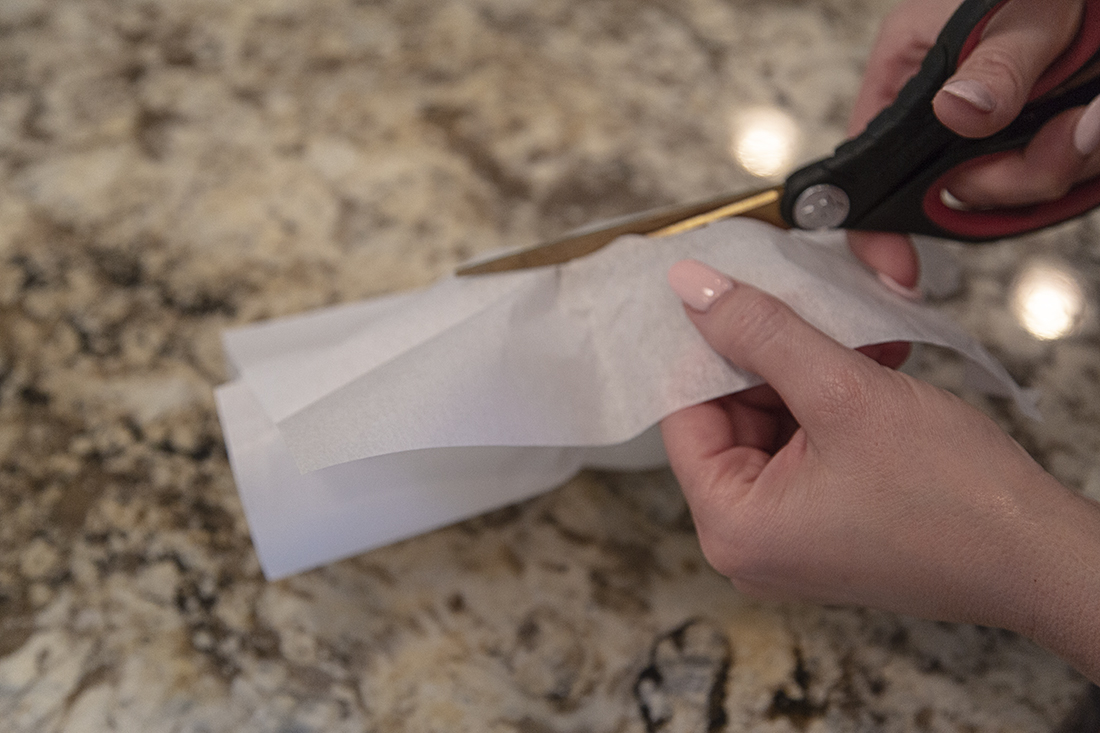
Step 3
Once dry, trim off the excess tissue paper and glue down any edges that may be sticking up or need to be tucked in on the bottom.
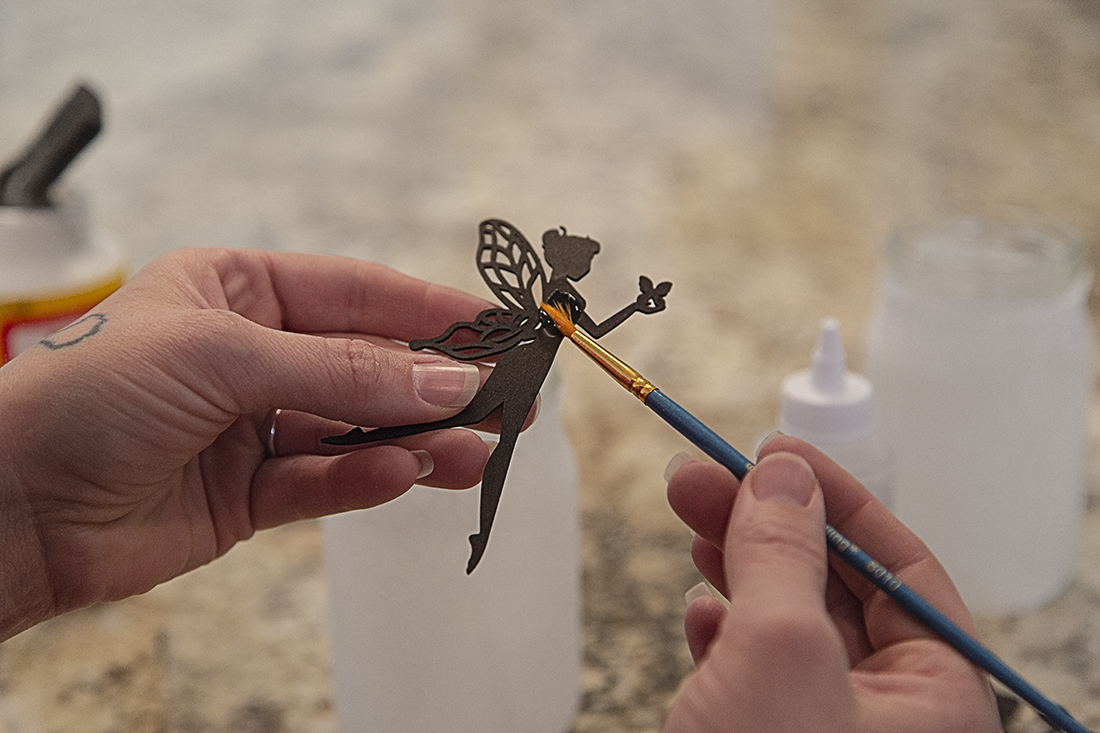
Step 4
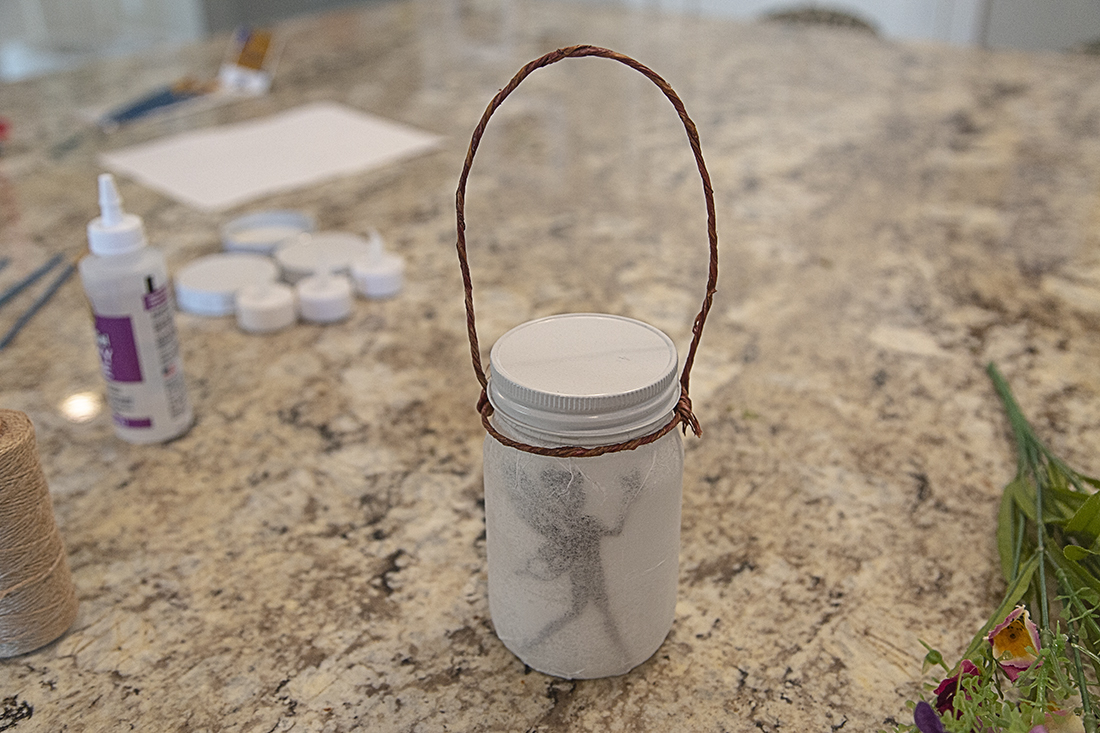
Choose your fairy silhouette for your jar. Brush a modest amount of tacky glue on one side of your fairy and stick it down on the inside of your jar and press down for a minute, until it is secured to the jar.

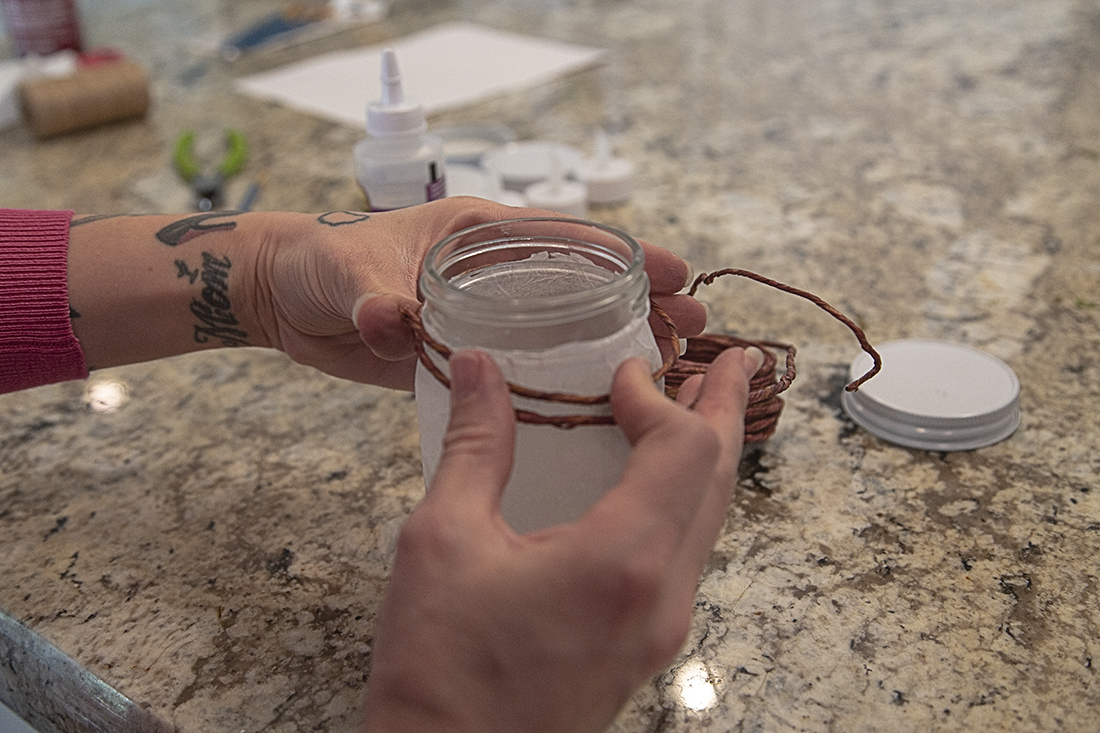
Step 5
Take your vine wrapped craft wire and fashion a handle around the very bottom of the jar lip and make sure you can still screw the jar lid on top. We wrapped the wire around the jar once and then attached a separate piece for the handle by wrapping the piece around the other on each side.
Now it’s decorating time!
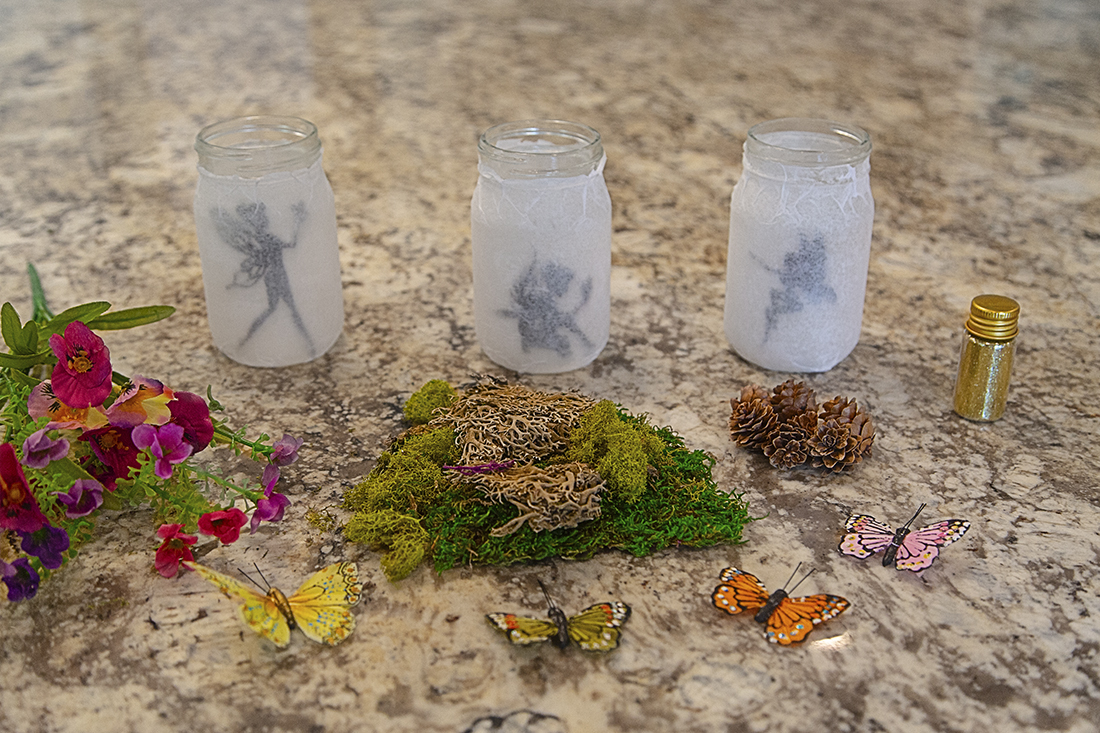
Step 6
Begin arranging the moss on the top of your jar lid and then use the clear tacky glue to adhere the pieces where you want them. You can glue on small pinecones, fake butterflies or faux flowers to decorate it how you want. We wrapped and glued thin twine around the edge of some of the lids and also tied pinecones and flowers to them.

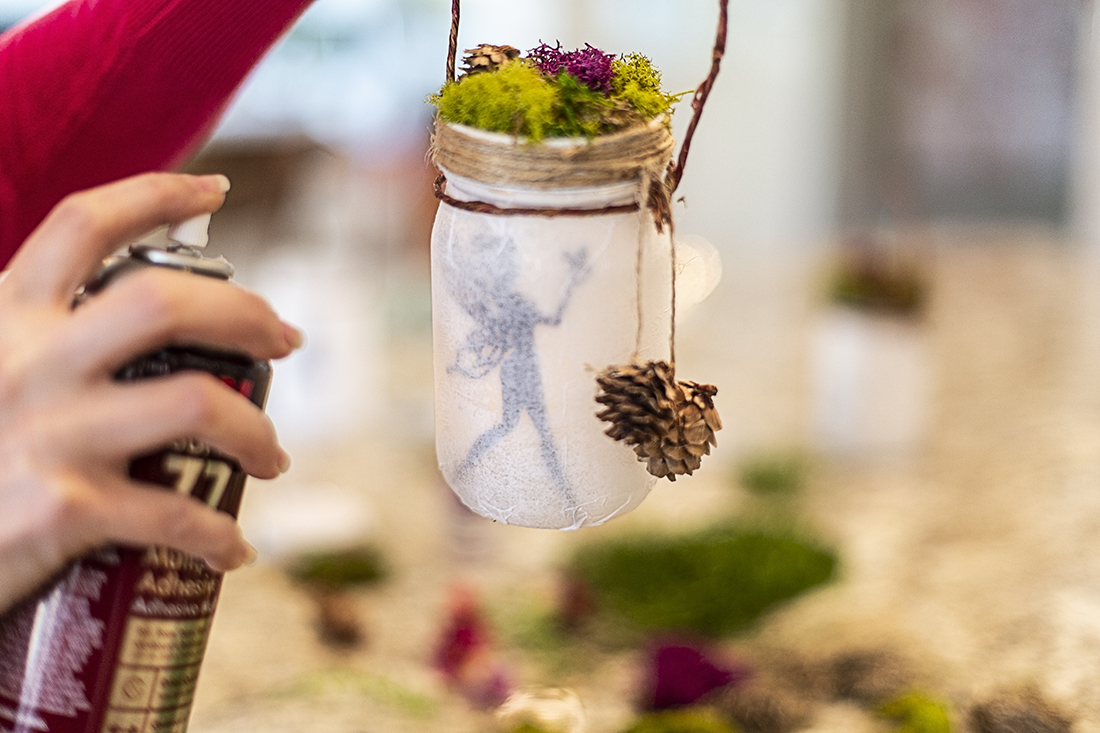
Step 7
Now it’s time for the pixie dust! *We highly recommend doing this part outside!* Take your can of spray adhesive and lightly spray your jar all over. Take your fine glitter and sprinkle bits at a time all over the top and edges of your fairy catcher. You can use as much or as little glitter as you’d like.
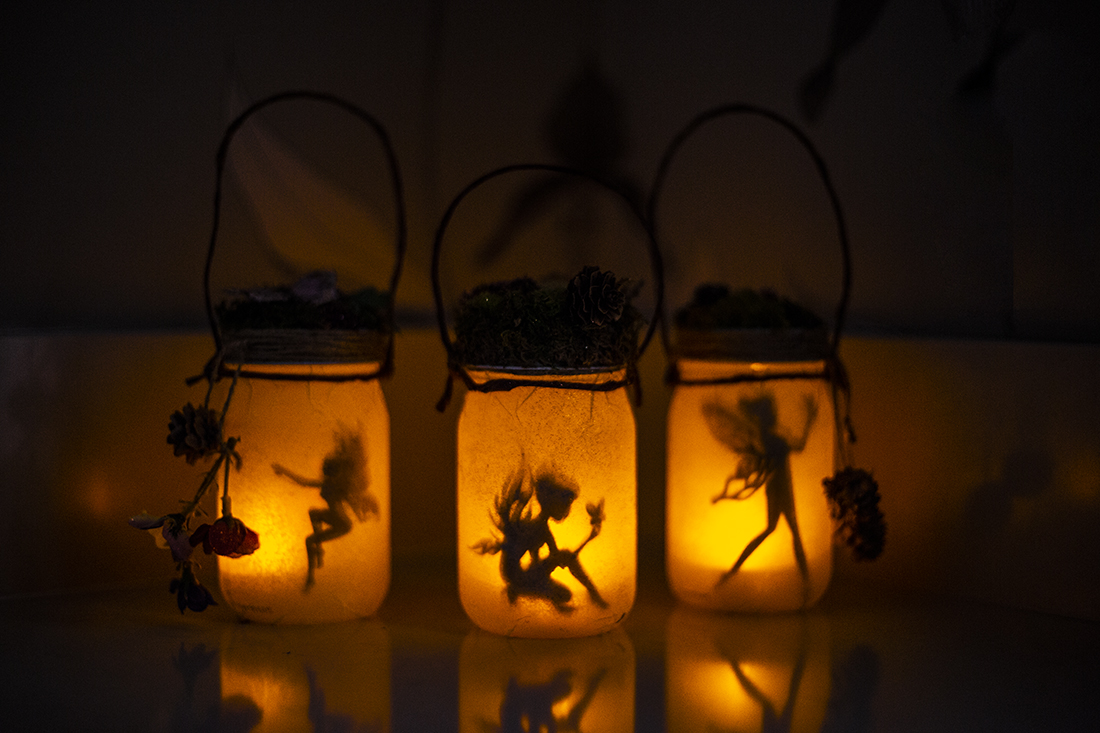
Your fairy catcher is complete! Now you can add your flameless LED tea light (NEVER use a real tea light or candle). Get ready to wow your little ones and remind them not to unscrew the jar, for fairies are very hard to catch!
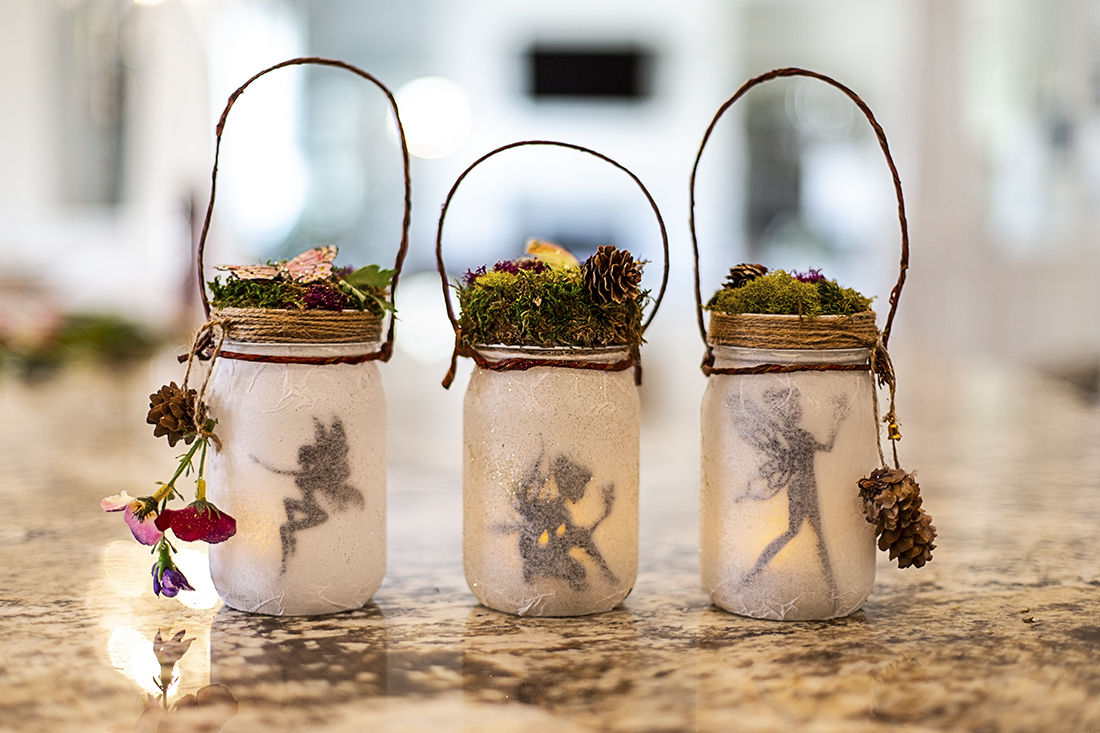
These fairy catchers may even help little ones who may be afraid of the darkness in their rooms. We hope they inspire wonder in your children and magical fairy dreams. Happy fairy catching!


1 Comment
Wow fairies